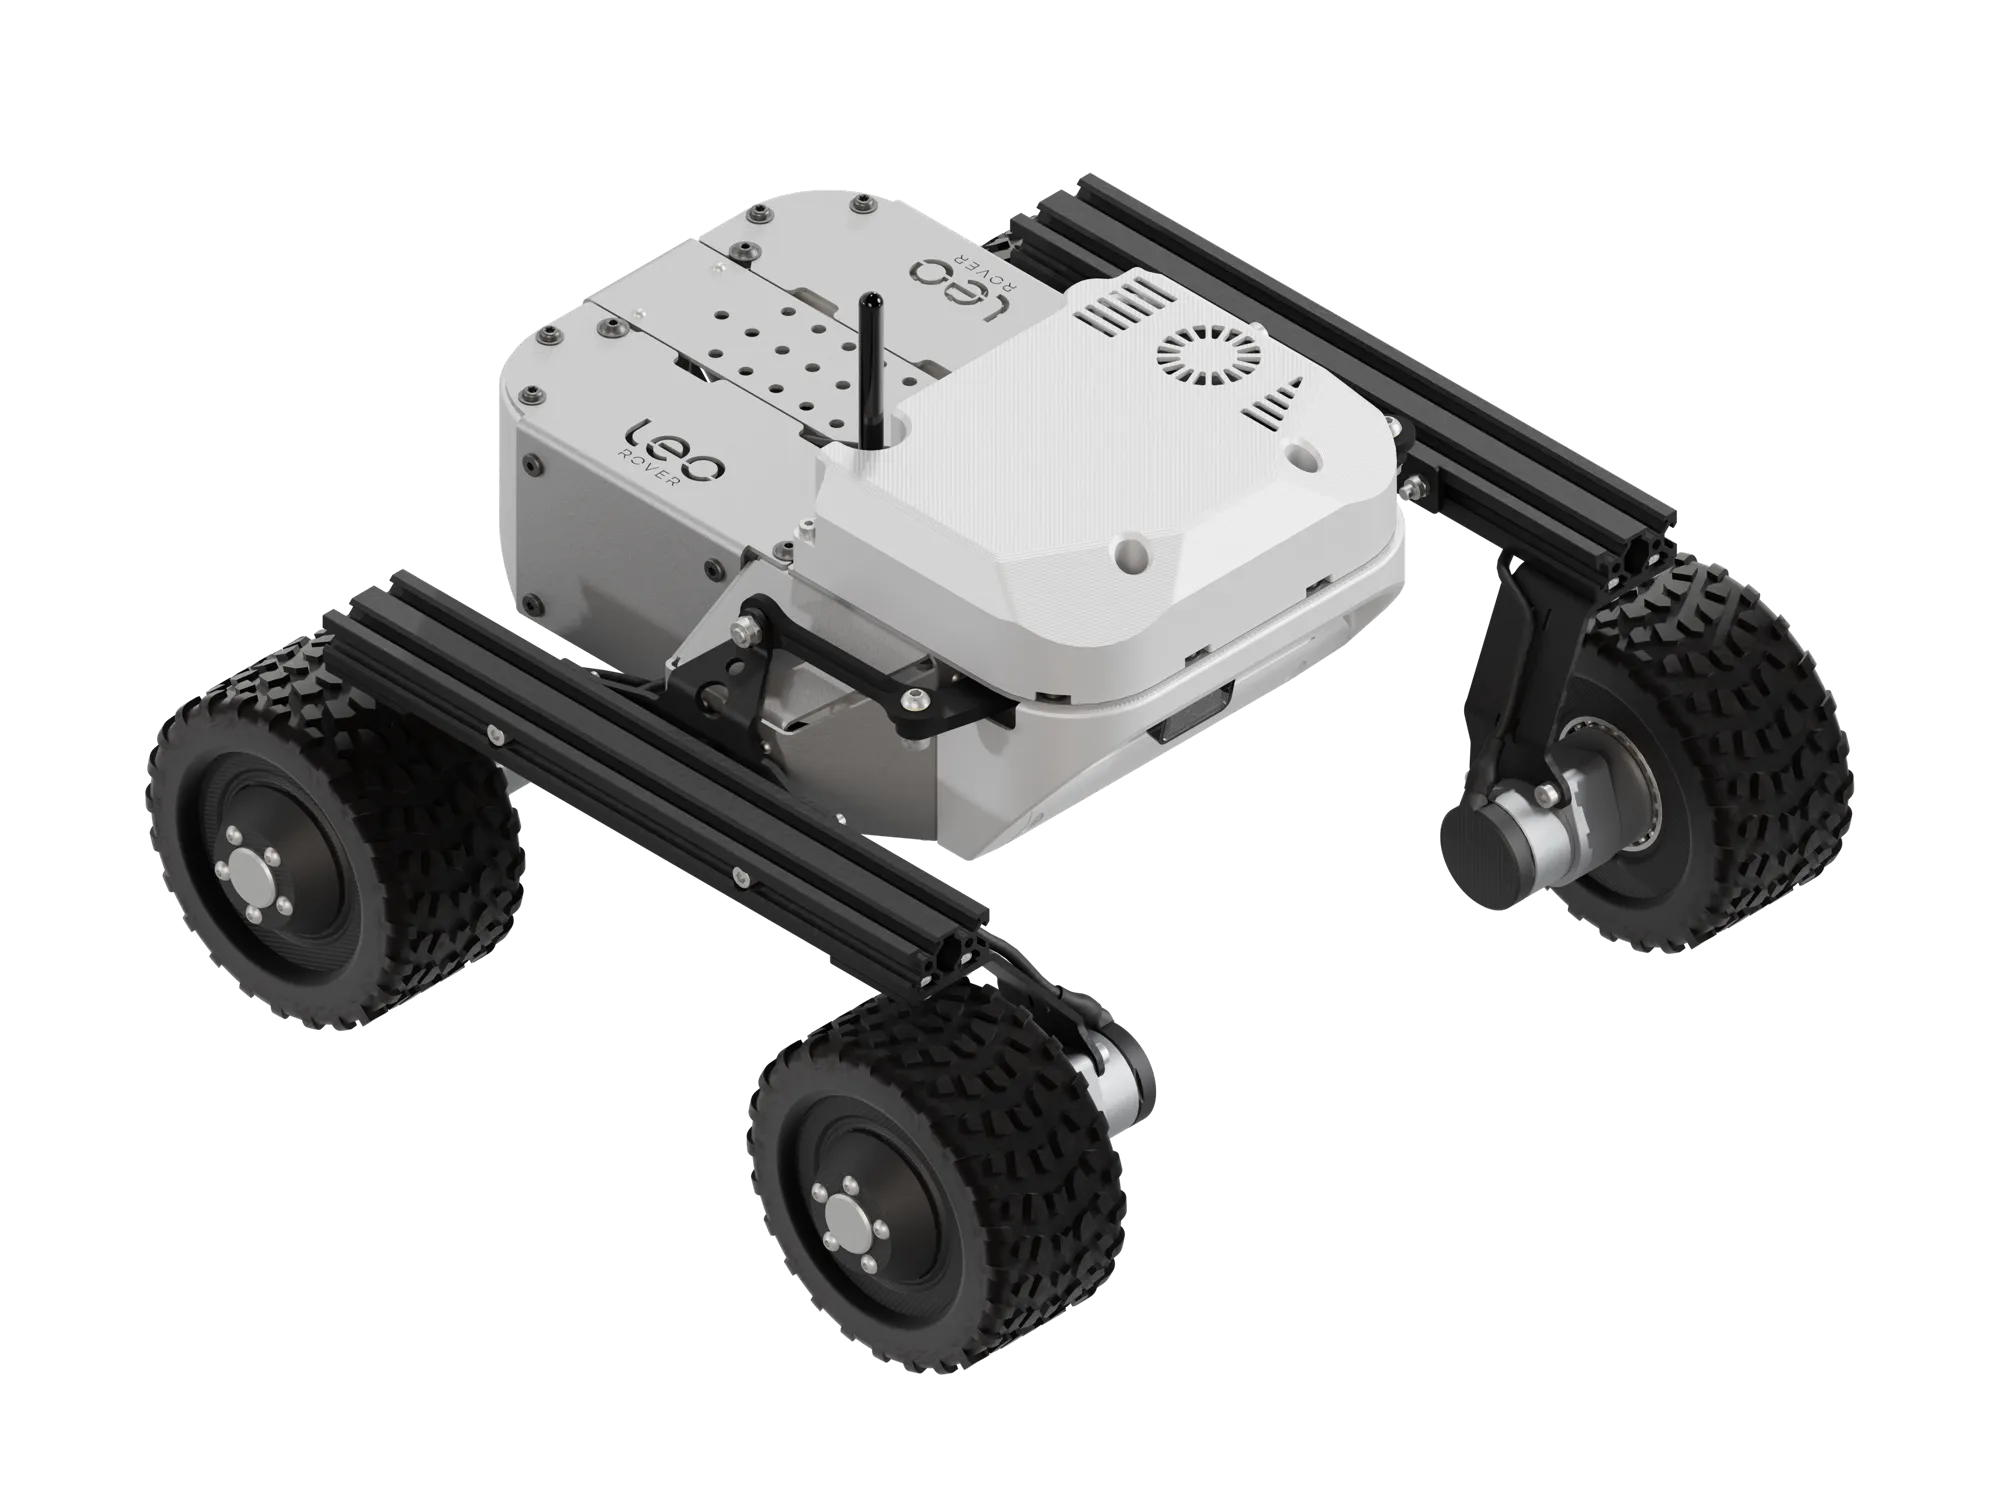
NVIDIA Jetson Orin Nano Integration
This tutorial will guide you through the process of connecting a Jetson Orin Nano to your Leo Rover. The Jetson Orin Nano is a powerful edge AI computing module designed to drastically enhance the processing capabilities of your Leo Rover. By following this tutorial, you will learn how to integrate this component with your rover system, enabling advanced computing, machine learning, and autonomous capabilities.
What to expect?
After completing this tutorial, you will have ROS 2 installed, be able to run custom ROS 2 nodes directly on your Jetson Orin Nano, and have it successfully communicating with the Leo Rover's main system over ROS topics.
Prerequisites
Below is the list of all necessary tutorials and hardware components required to complete the integration.
Referenced products
Setting up the Jetson Orin Nano
It is recommended to set up the Jetson before mounting it on the rover. In that case you can use the Jetson with a regular monitor, keyboard and mouse, which makes the setup process easier.
In order to set up the Jetson Orin Nano, you will need to flash the official NVIDIA image on it and update the firmware. Follow the steps below to complete the setup:
- Go through the official Jetson Orin Nano setup guide.
- During flashing, install JetPack 7.2 with L4T firmware at least 39.2.
- Ensure the Jetson has internet access (either via Ethernet or Wi-Fi) before proceeding.
- Finish the initial setup and create a user account when prompted.
- Ensure that your Jetson is running in
MAXN SUPERmode for optimal performance.
You can find all the JetPack images in the JetPack Archive.
After the initial setup is complete, install the latest packages directly on the Jetson (either with an attached display or over SSH):
sudo apt update && sudo apt upgrade
The next step is to install ROS 2 by following the instructions in the ROS 2 documentation.
If you don't plan to use ROS GUI tools (like RViz or rqt) on the Jetson, you can
install the ros-jazzy-ros-base package instead of the full ros-jazzy-desktop
one. This saves Jetson storage space.
To avoid sourcing the ROS 2 environment manually in every new terminal, add it
to your ~/.bashrc:
echo "source /opt/ros/jazzy/setup.bash" >> ~/.bashrc
Now you can turn off Wi-Fi on the Jetson since later on it will be connected to the rover's network via Ethernet.
At this point you can proceed with the hardware integration and mounting the Jetson on the rover.
Hardware integration
The Jetson Orin Nano Integration includes all necessary mounts, screws, and cables required to install the NVIDIA Jetson Orin Nano on your Leo Rover. The pack has been designed to ensure a straightforward and robust assembly process.
Mounting
Three Allen keys (sizes: 2.5, 3, and 4 mm) are required for the mechanical installation. Please note that these tools are not included in the kit.
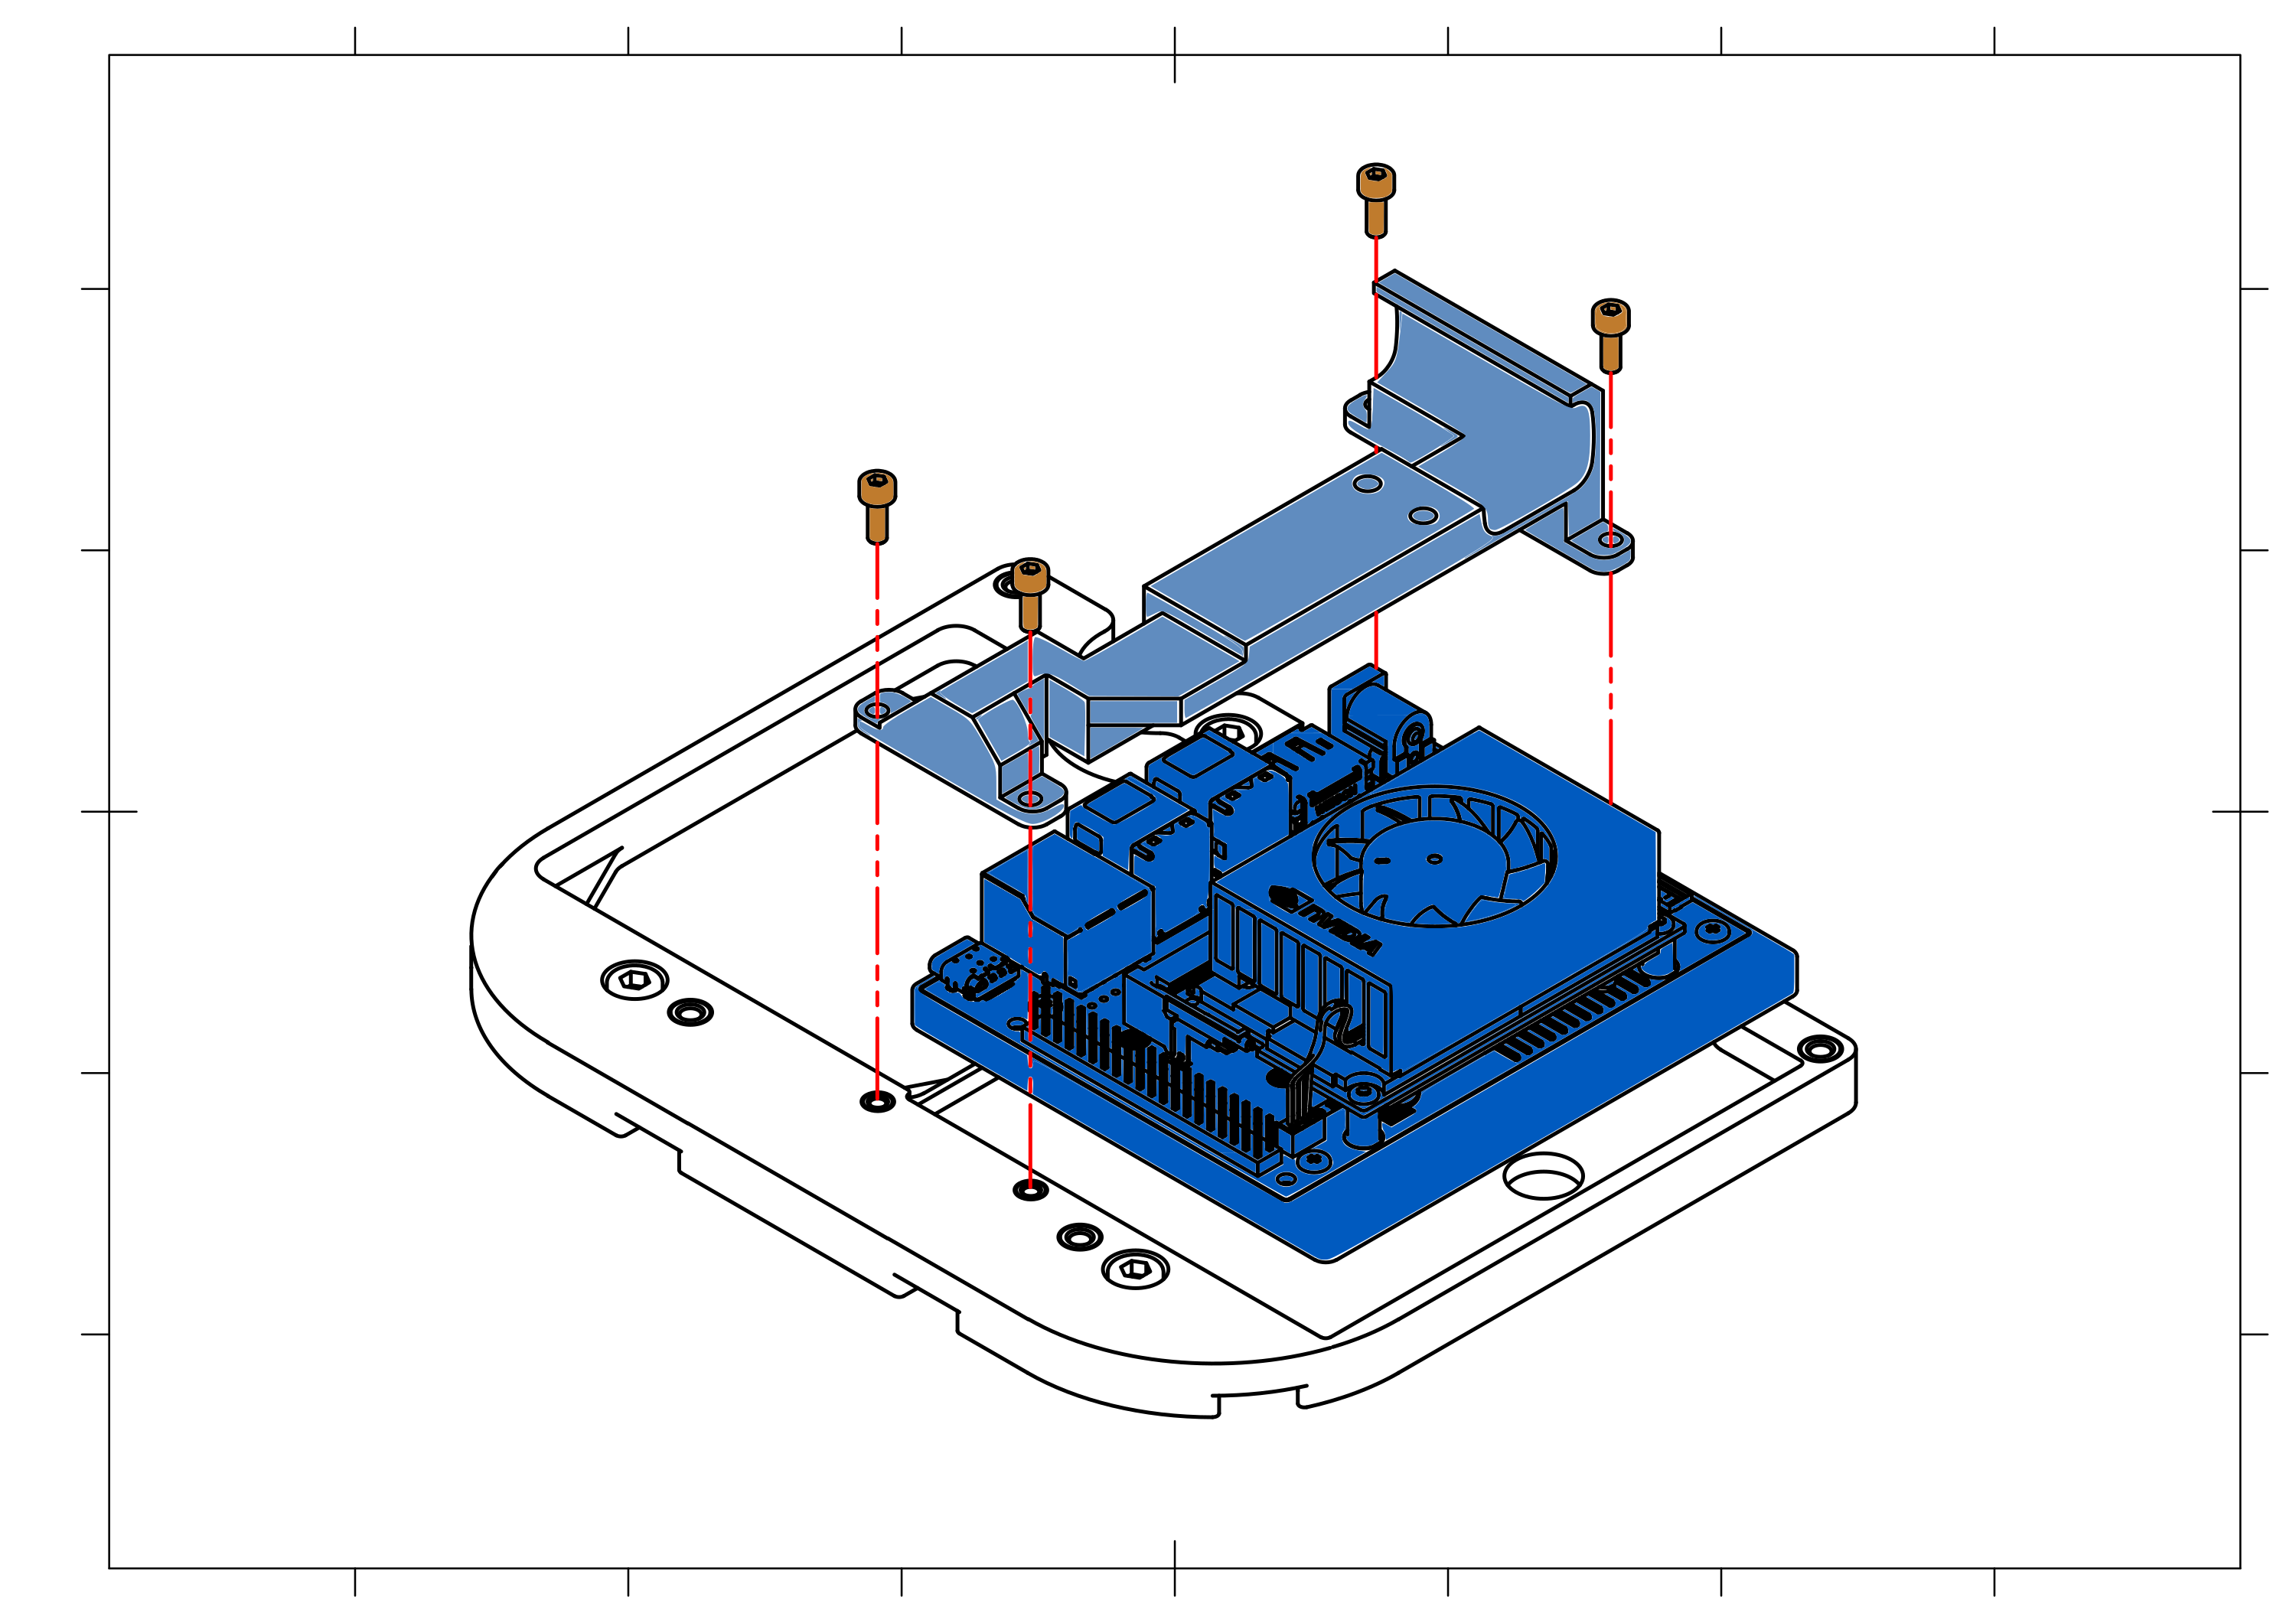
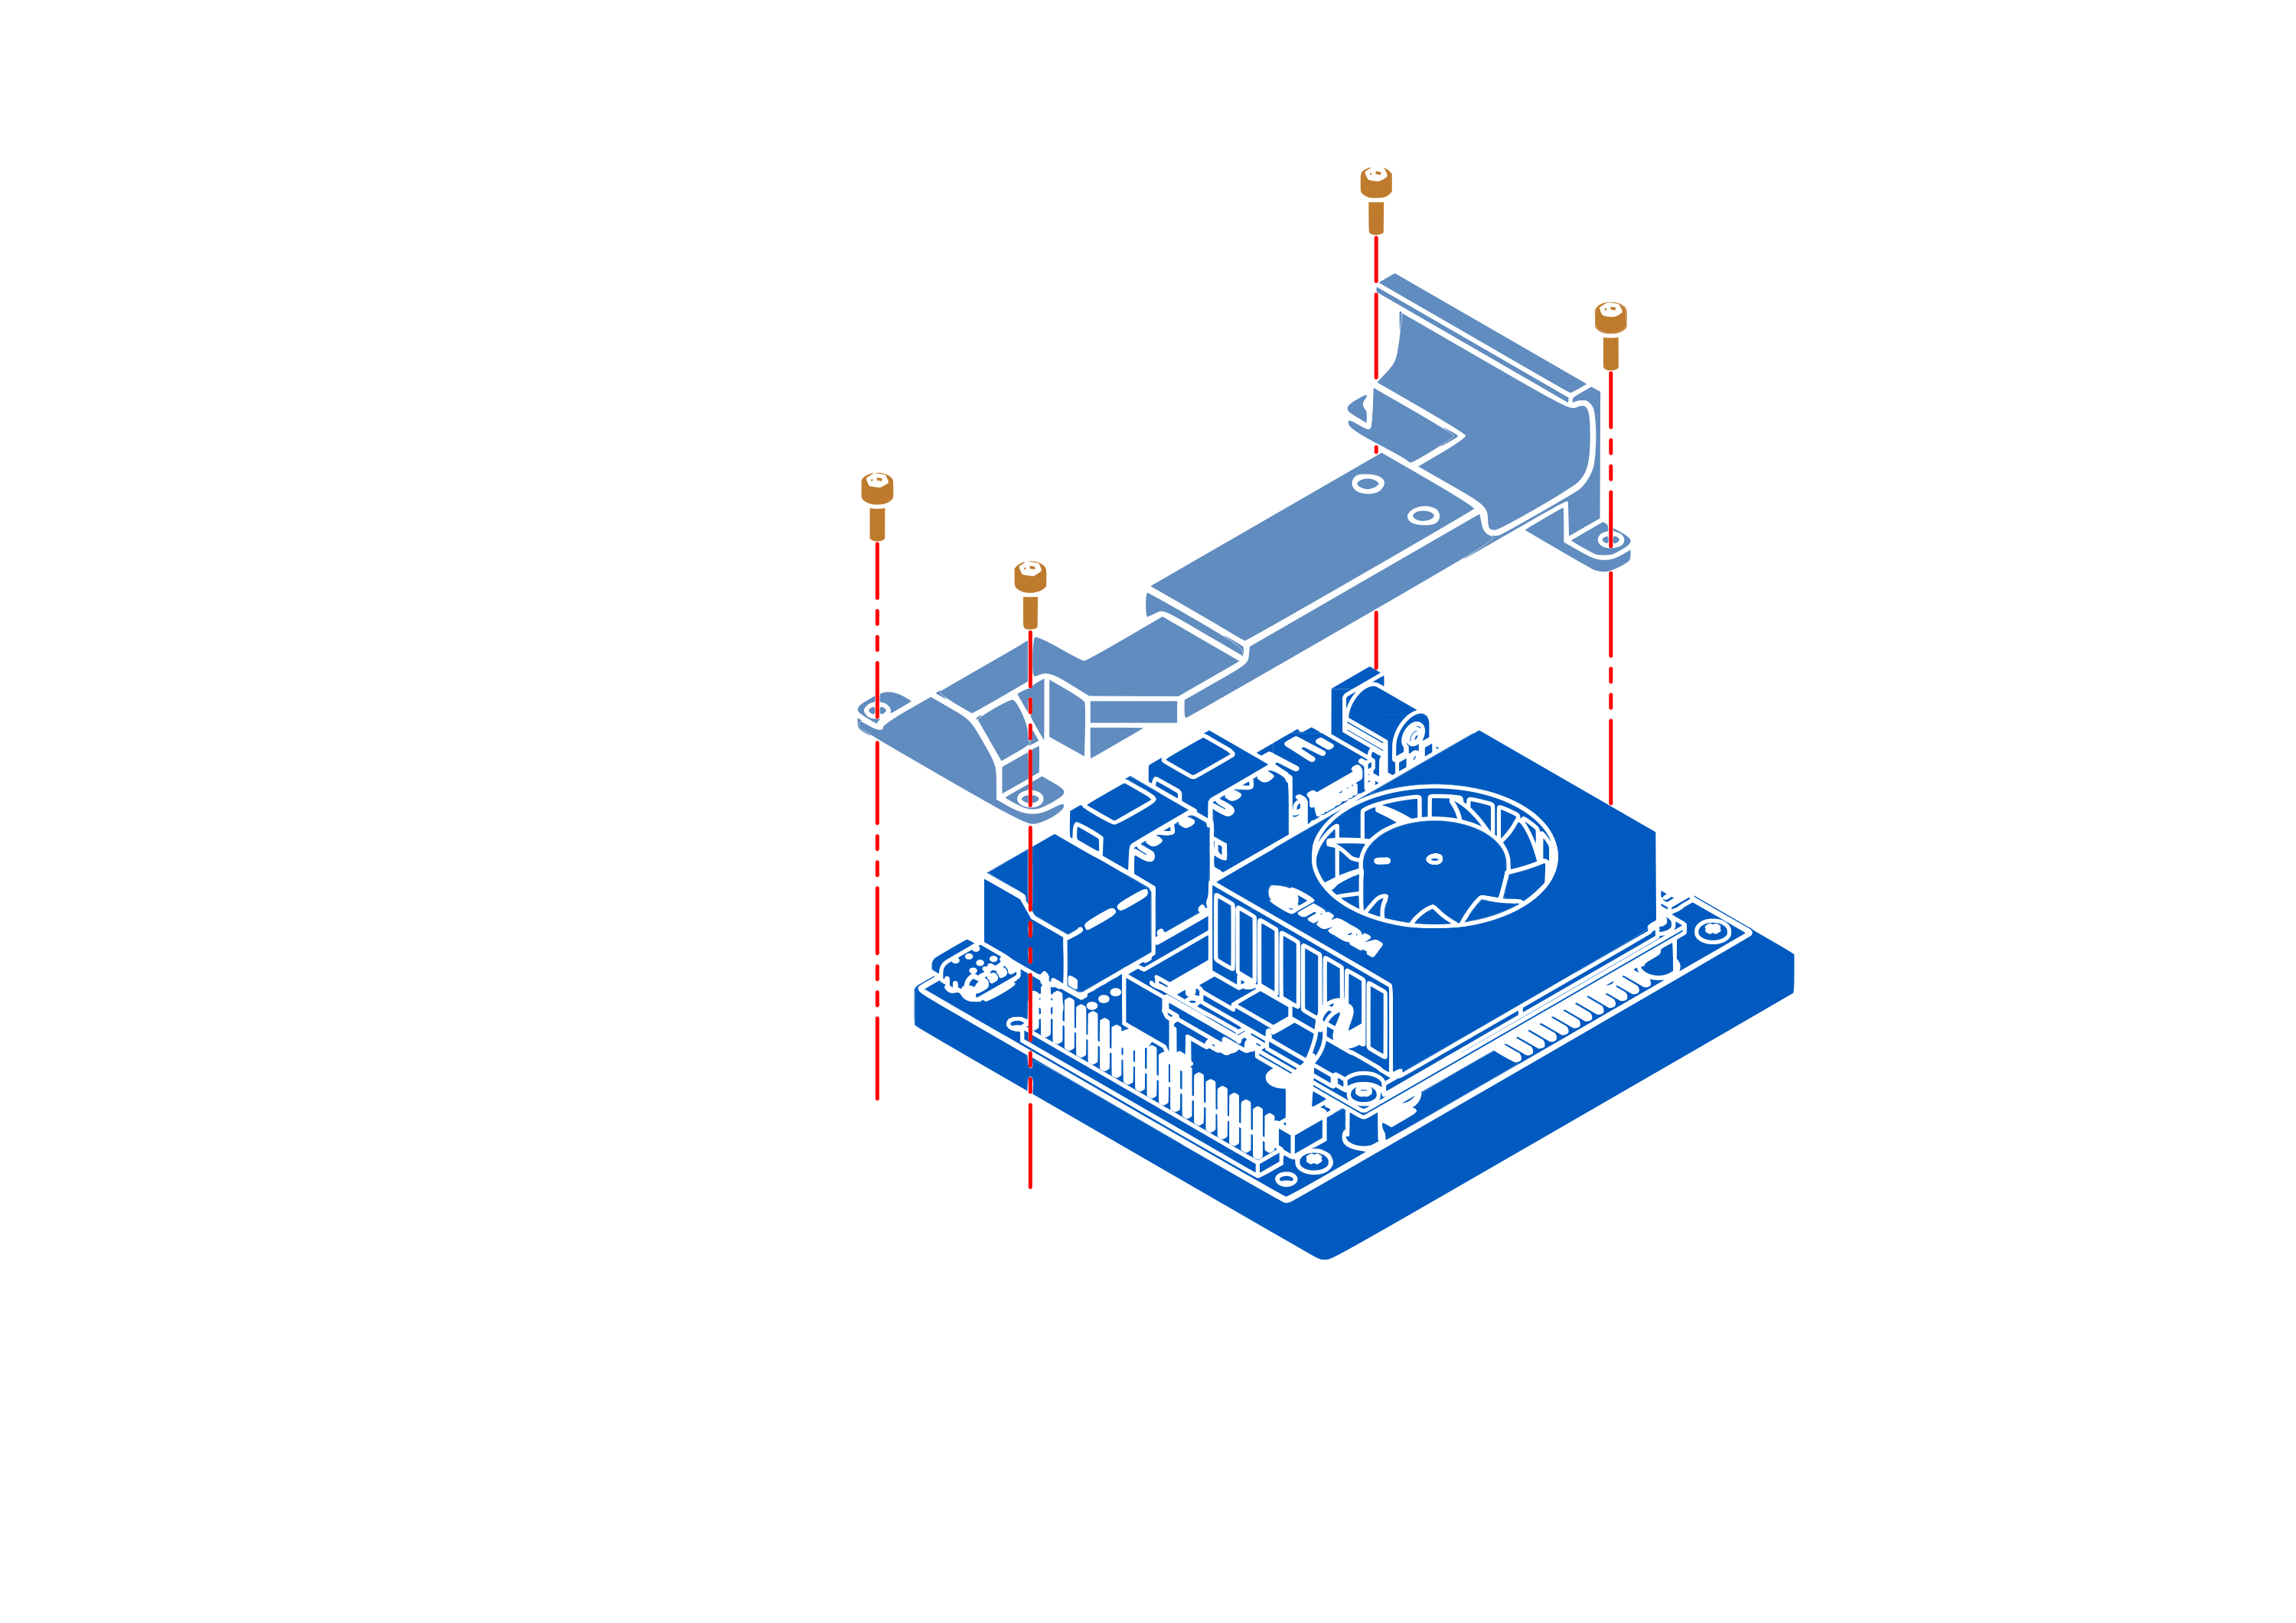
To assemble the pack, first insert the Jetson Orin Nano into the base mounts, then secure the Jetson with the 3D-printed bracket using M3 x 8 bolts as shown below.
Place the Ethernet adapter in its mount and secure it with the 3D-printed holder and M3 x 8 bolts.
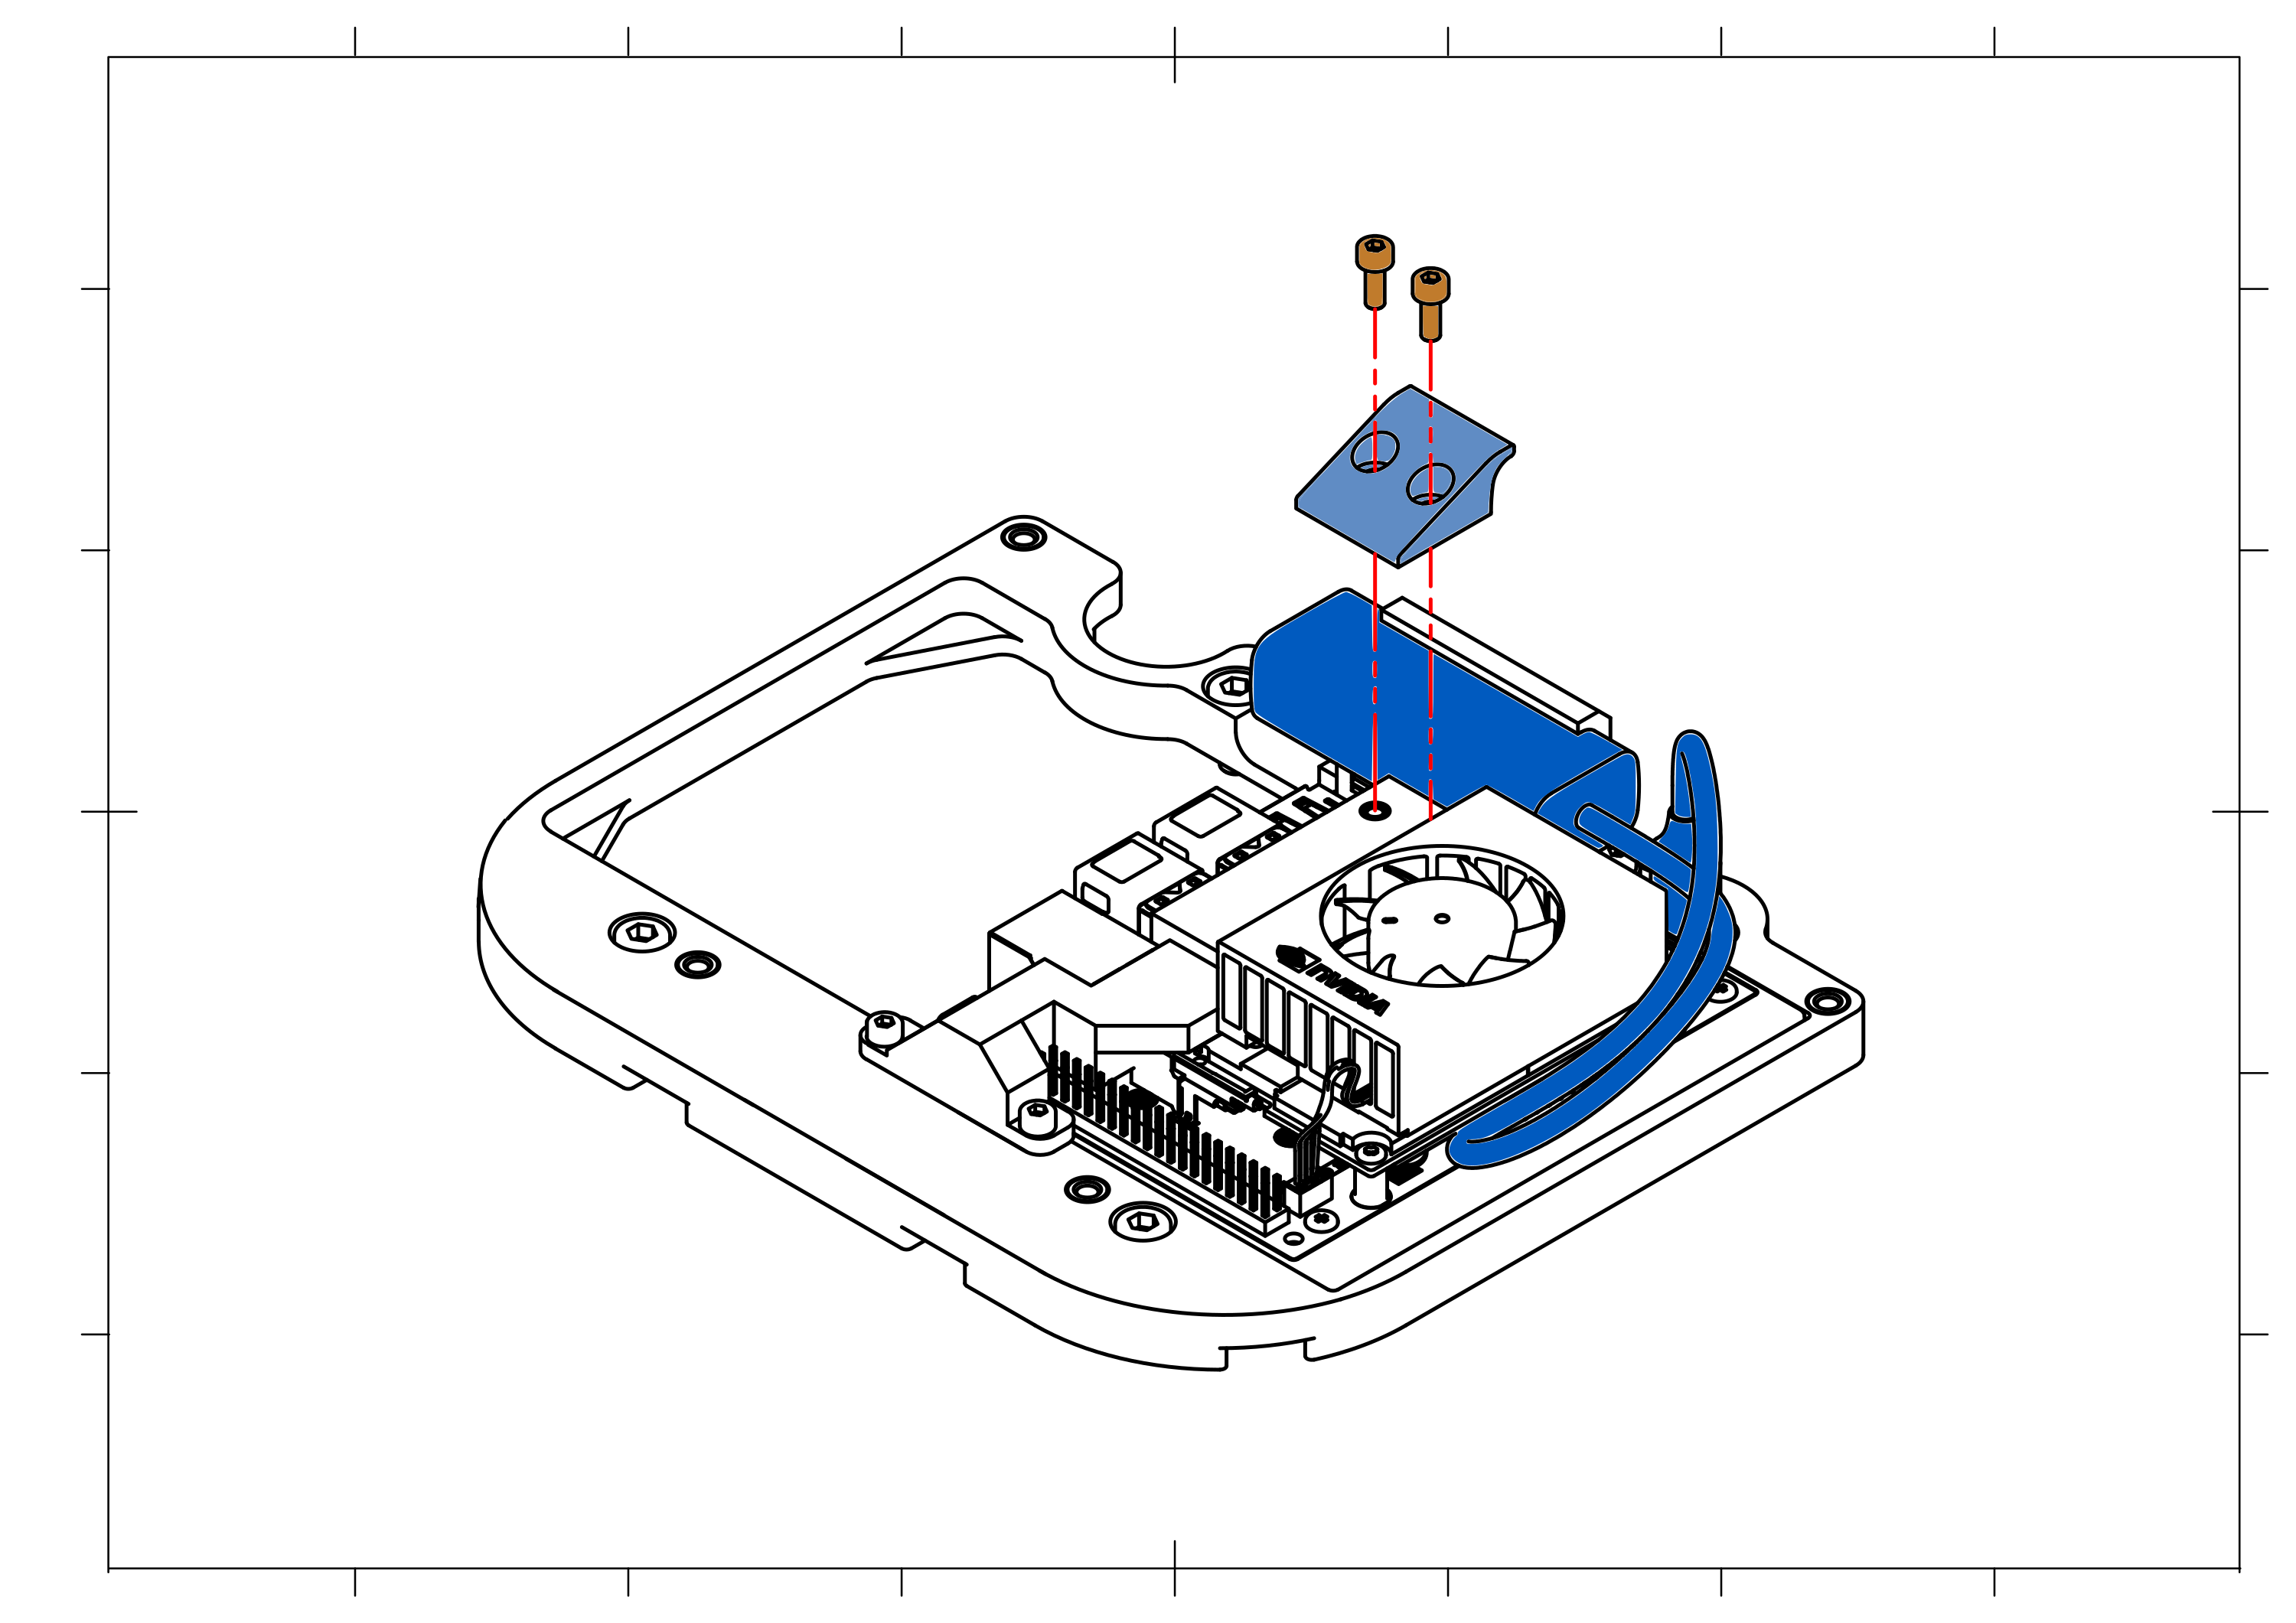
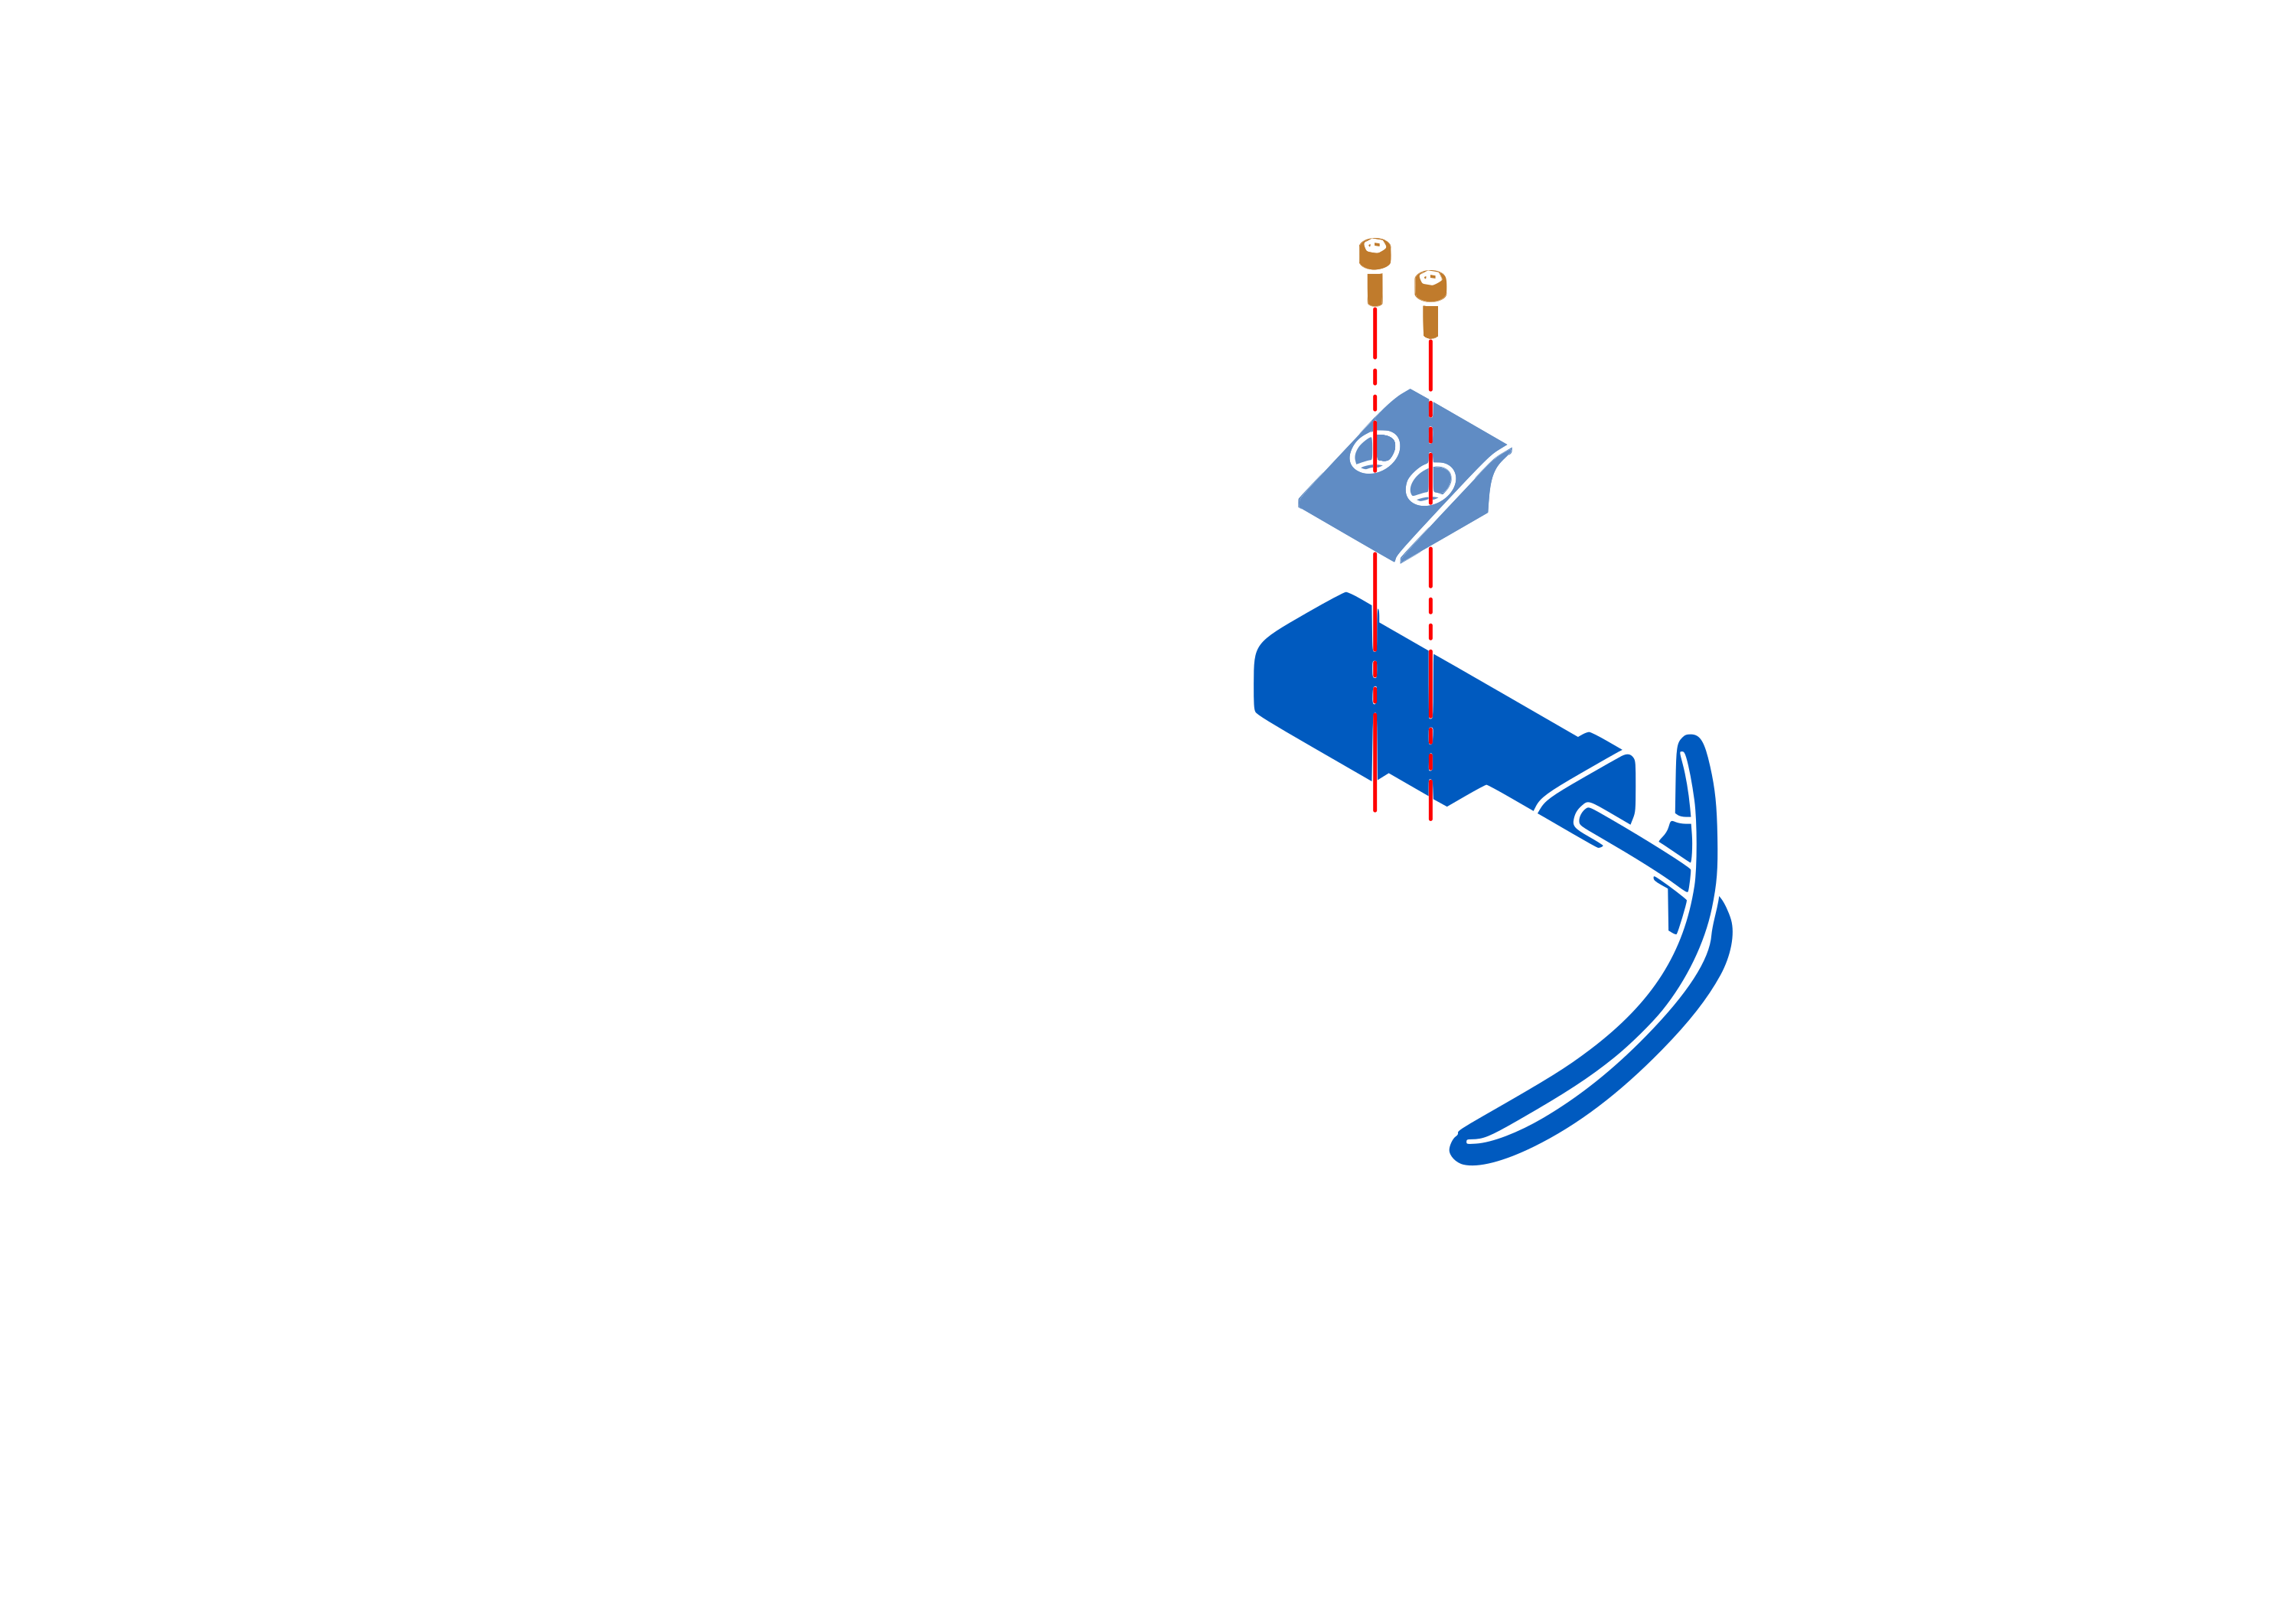
The assembled Jetson Orin Nano Integration can be mounted on the Leo Rover using M5 x 10 bolts:
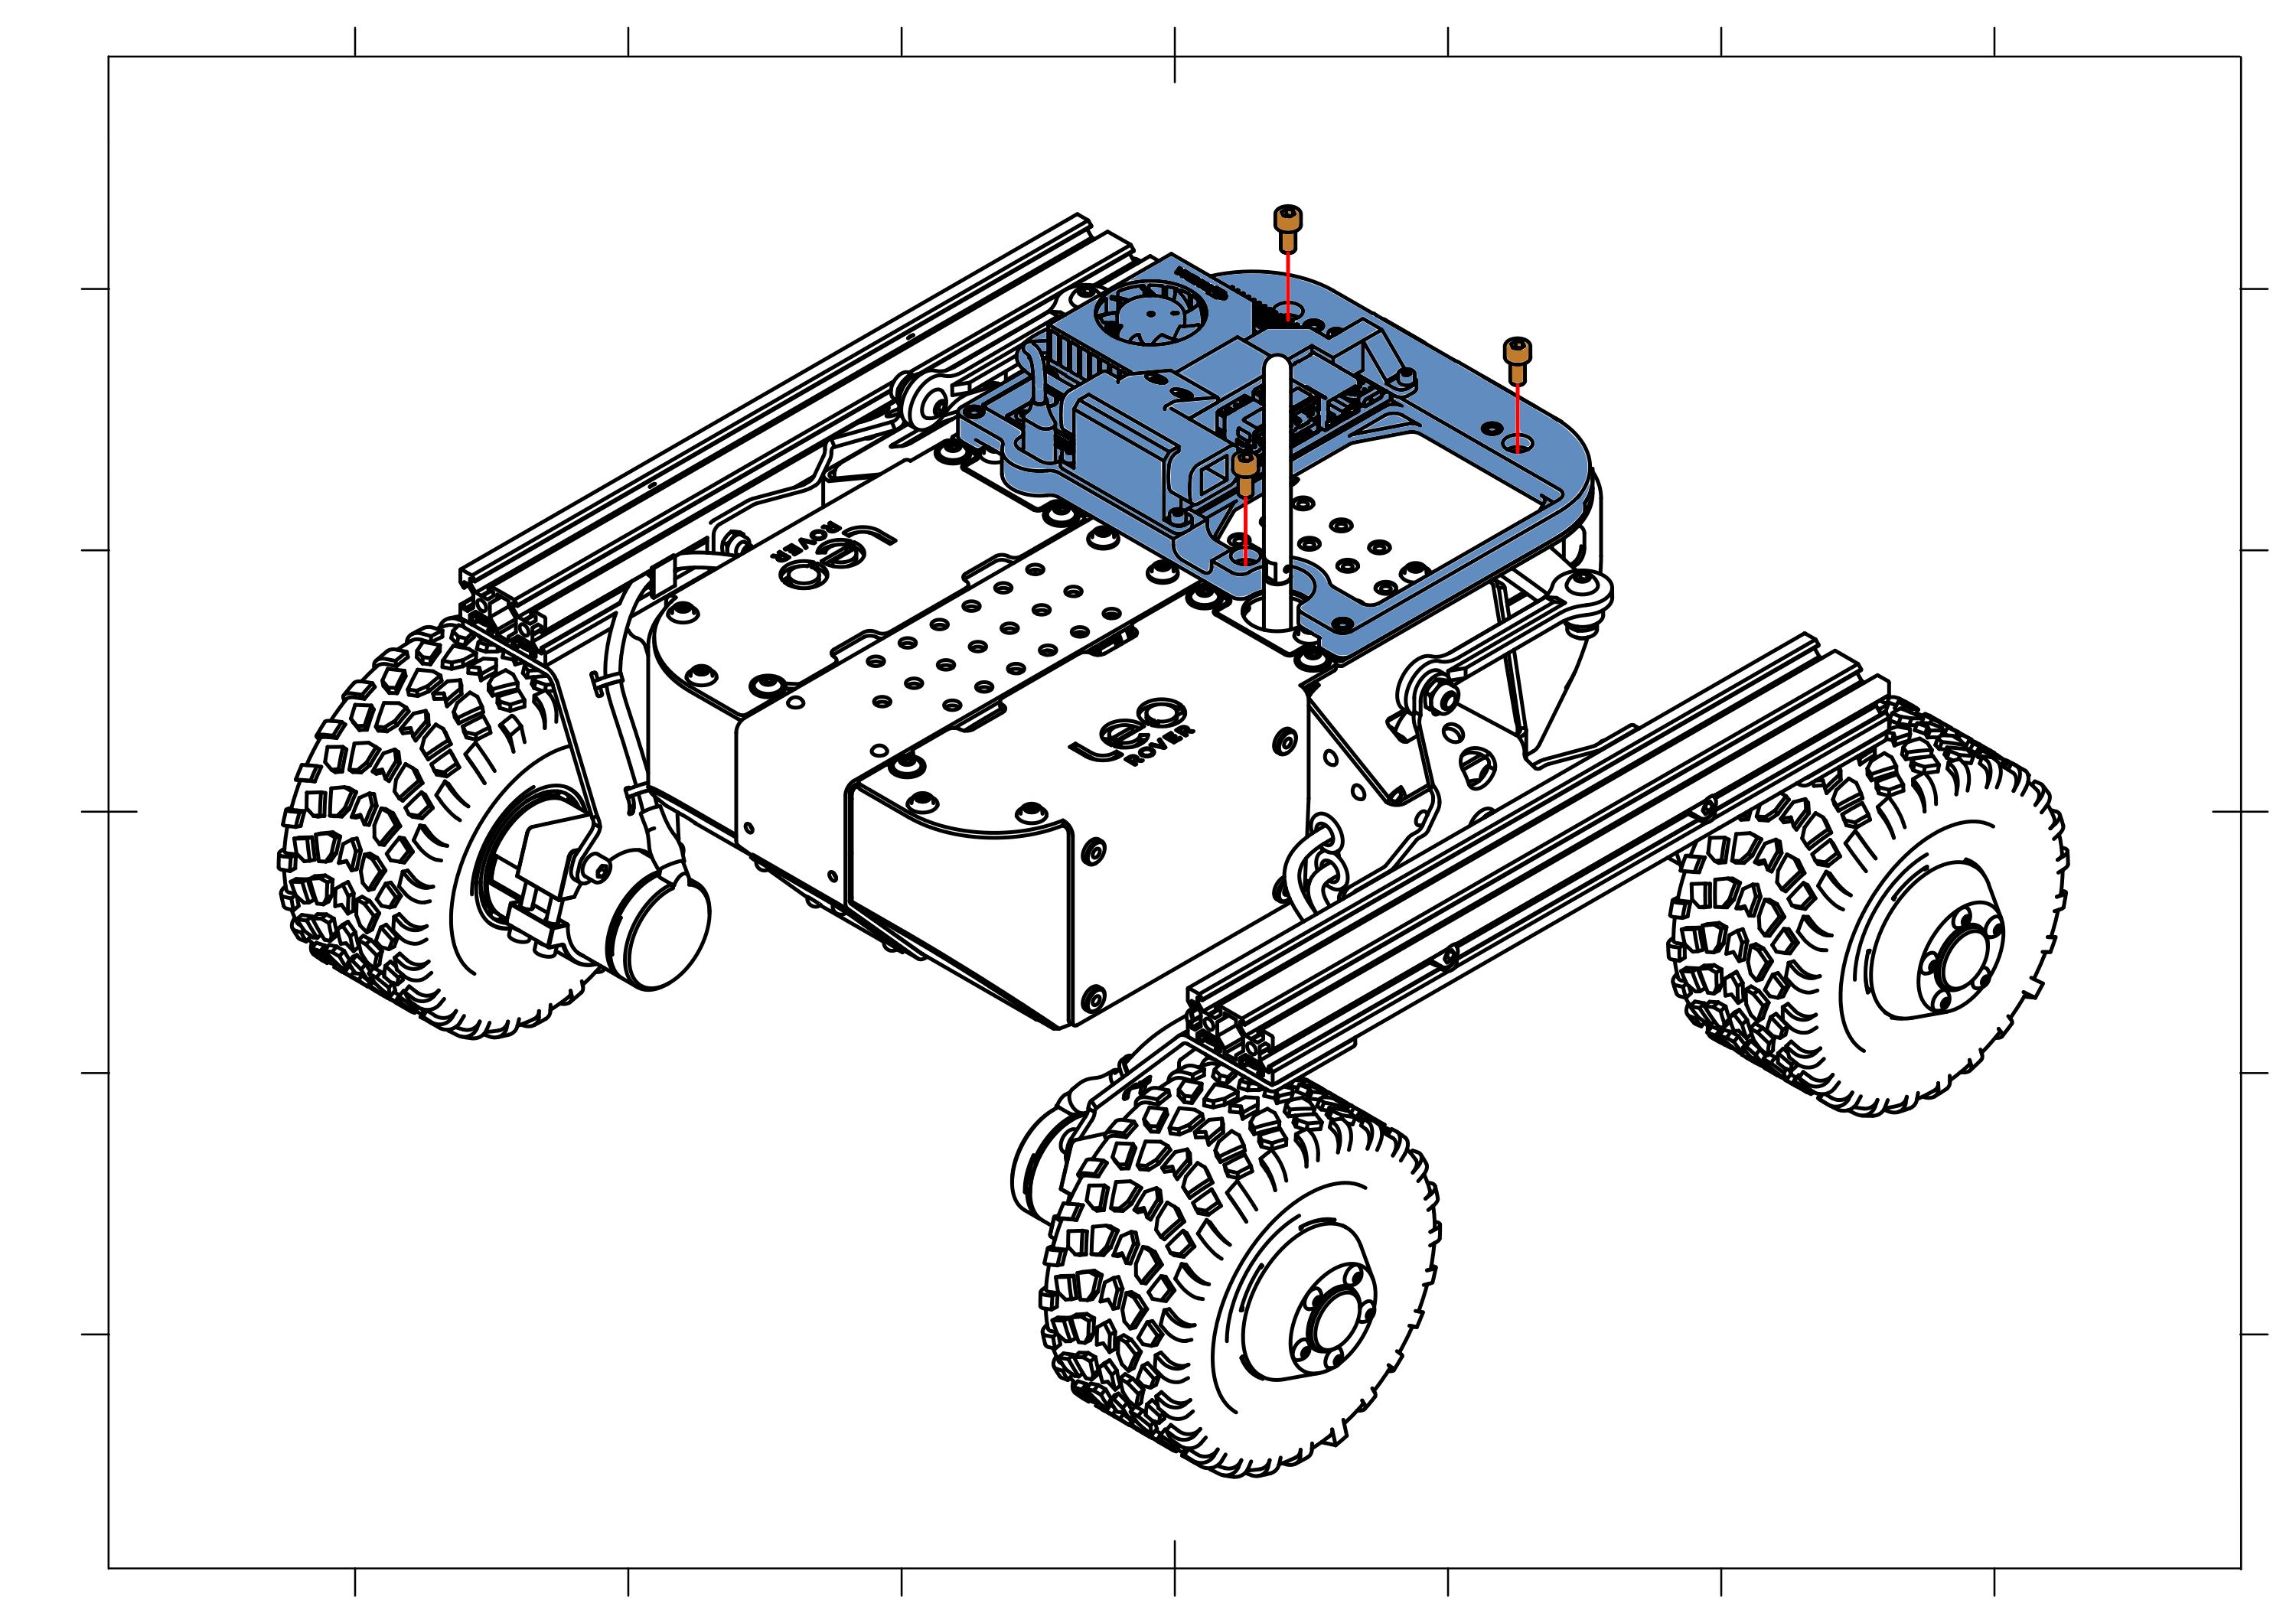
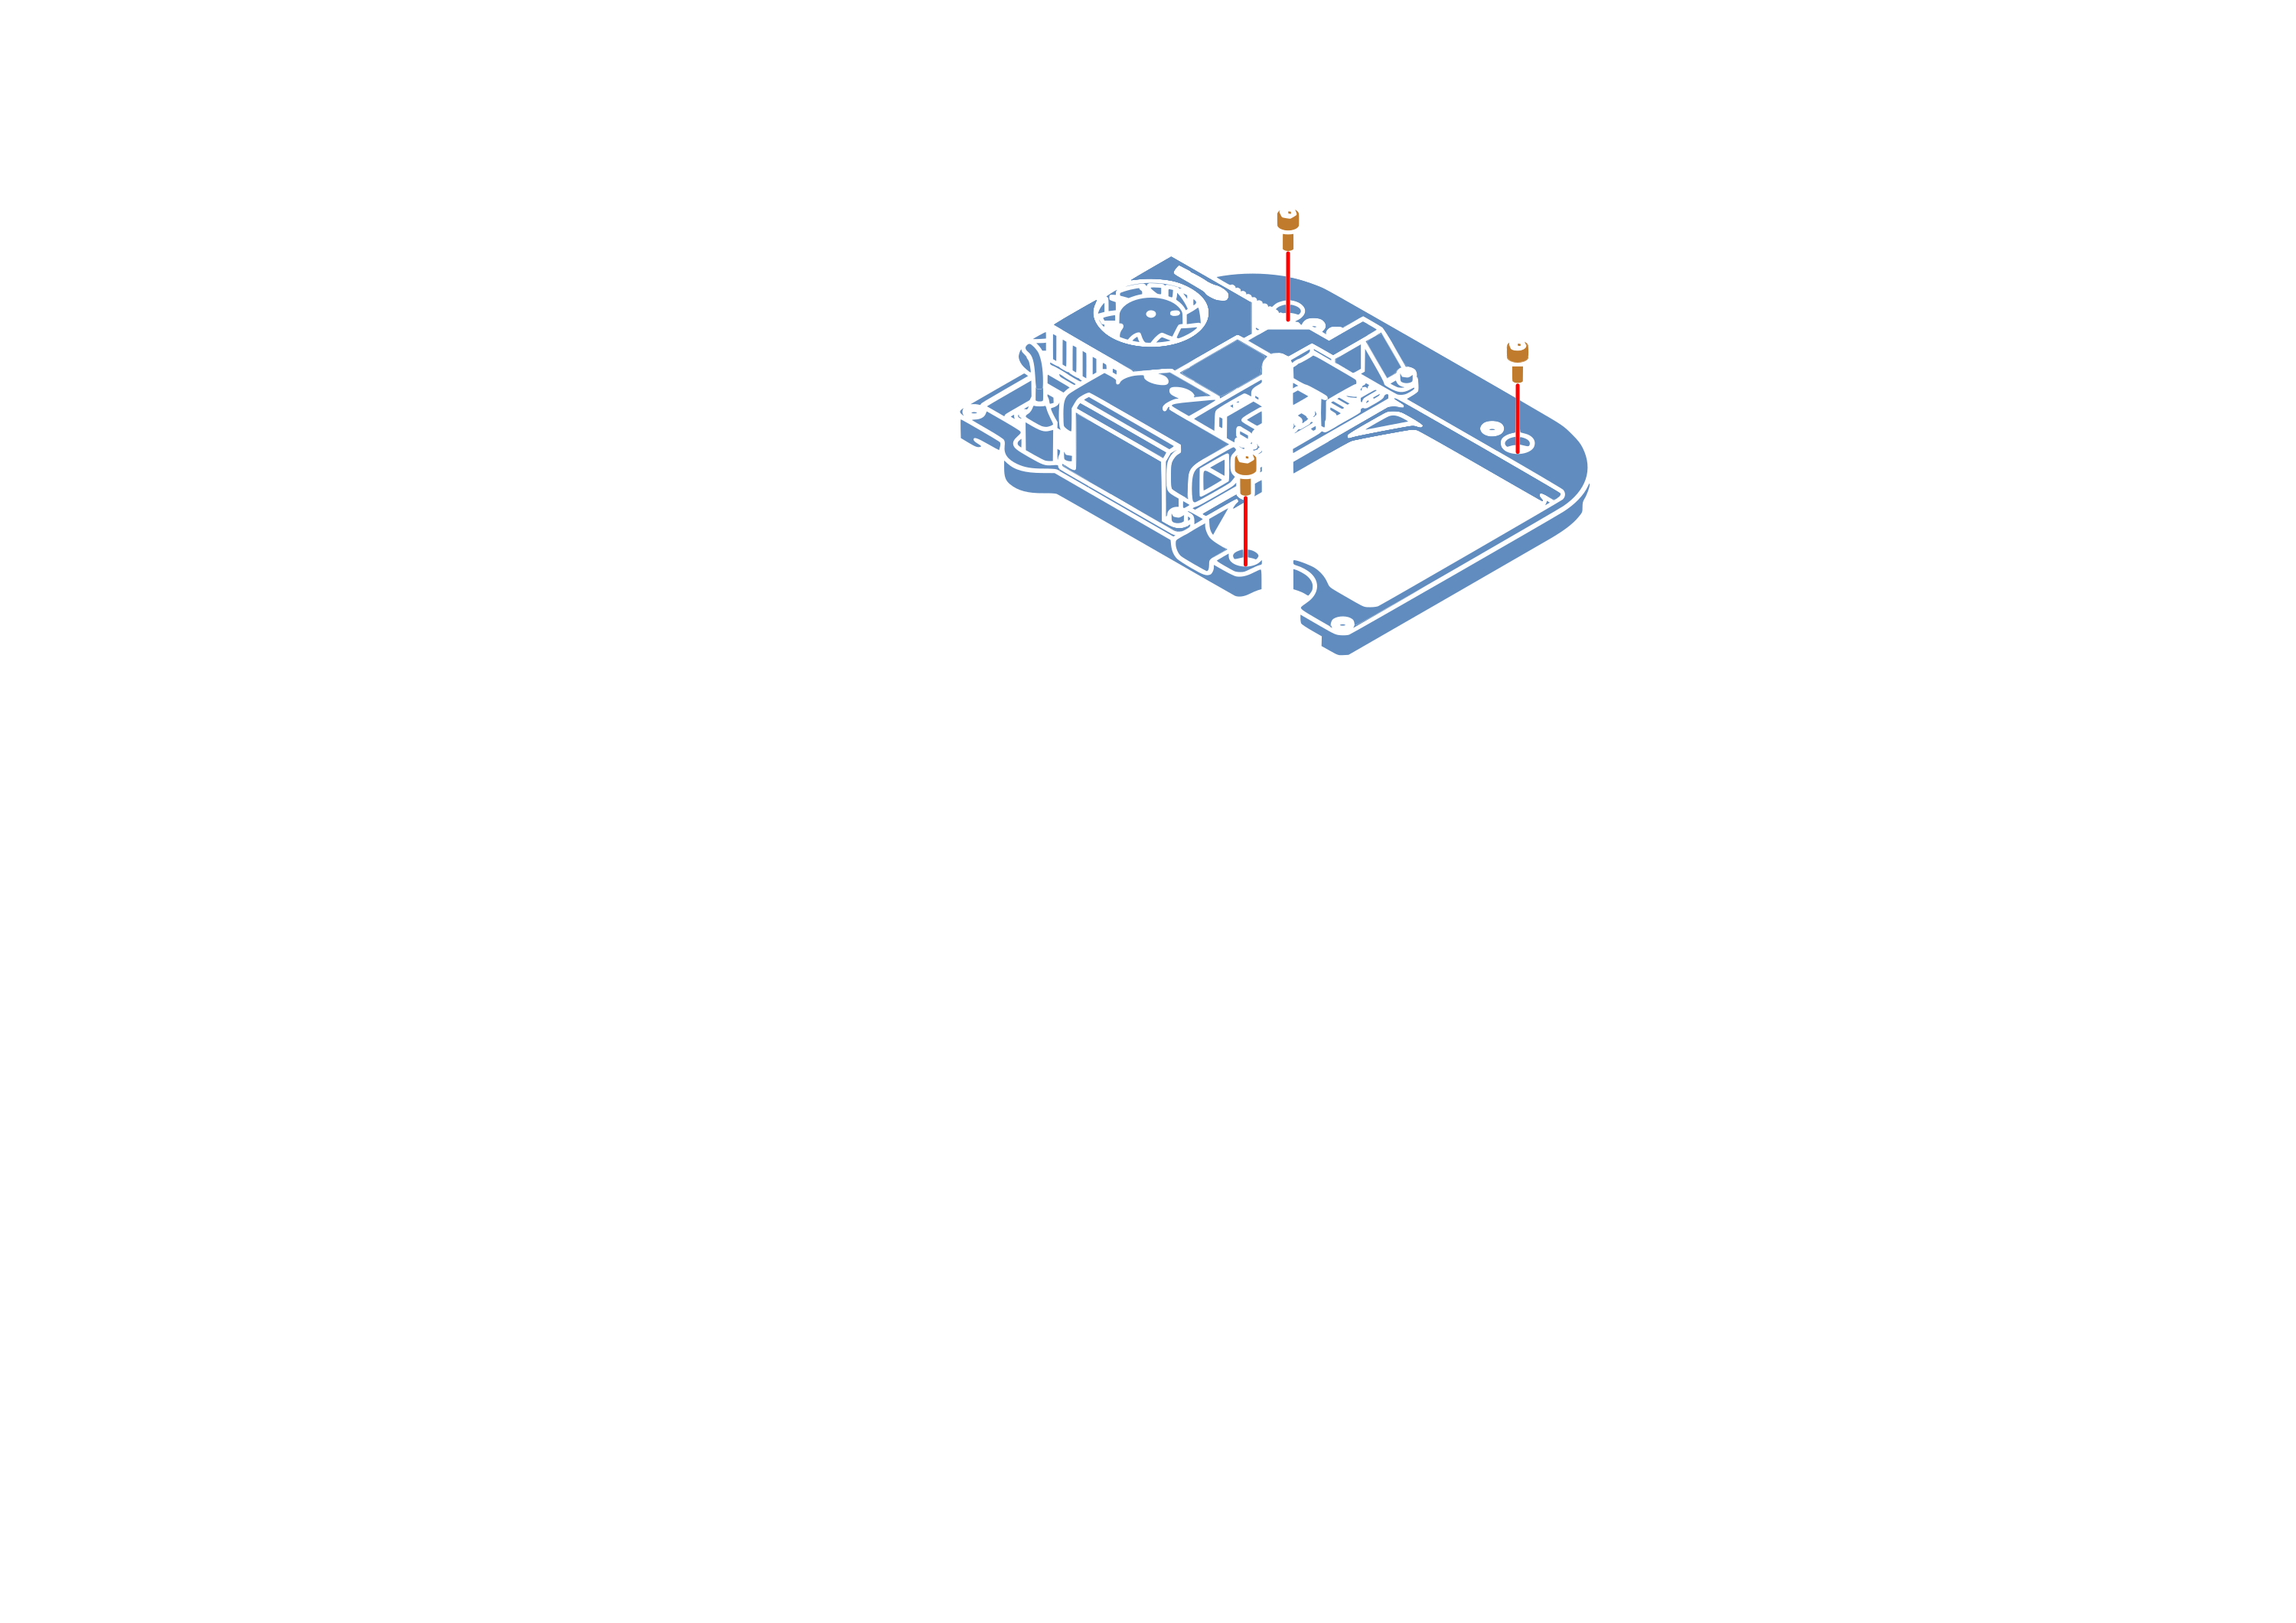
Wiring
Proper cable management is essential to ensure reliable operation and prevent hardware damage. Follow these steps to connect the Jetson Orin Nano Integration electronics to the Leo Rover:
- Connect the USB-C cable from the USB-Ethernet adapter to the rover's external interface. Route the cable neatly, ensuring it is properly folded and safely clear of the Jetson's cooling fan.
- Replace the standard MEB-battery power cable with the included modified version featuring a barrel jack connector. Plug the barrel jack directly into the Jetson Orin Nano's power port.
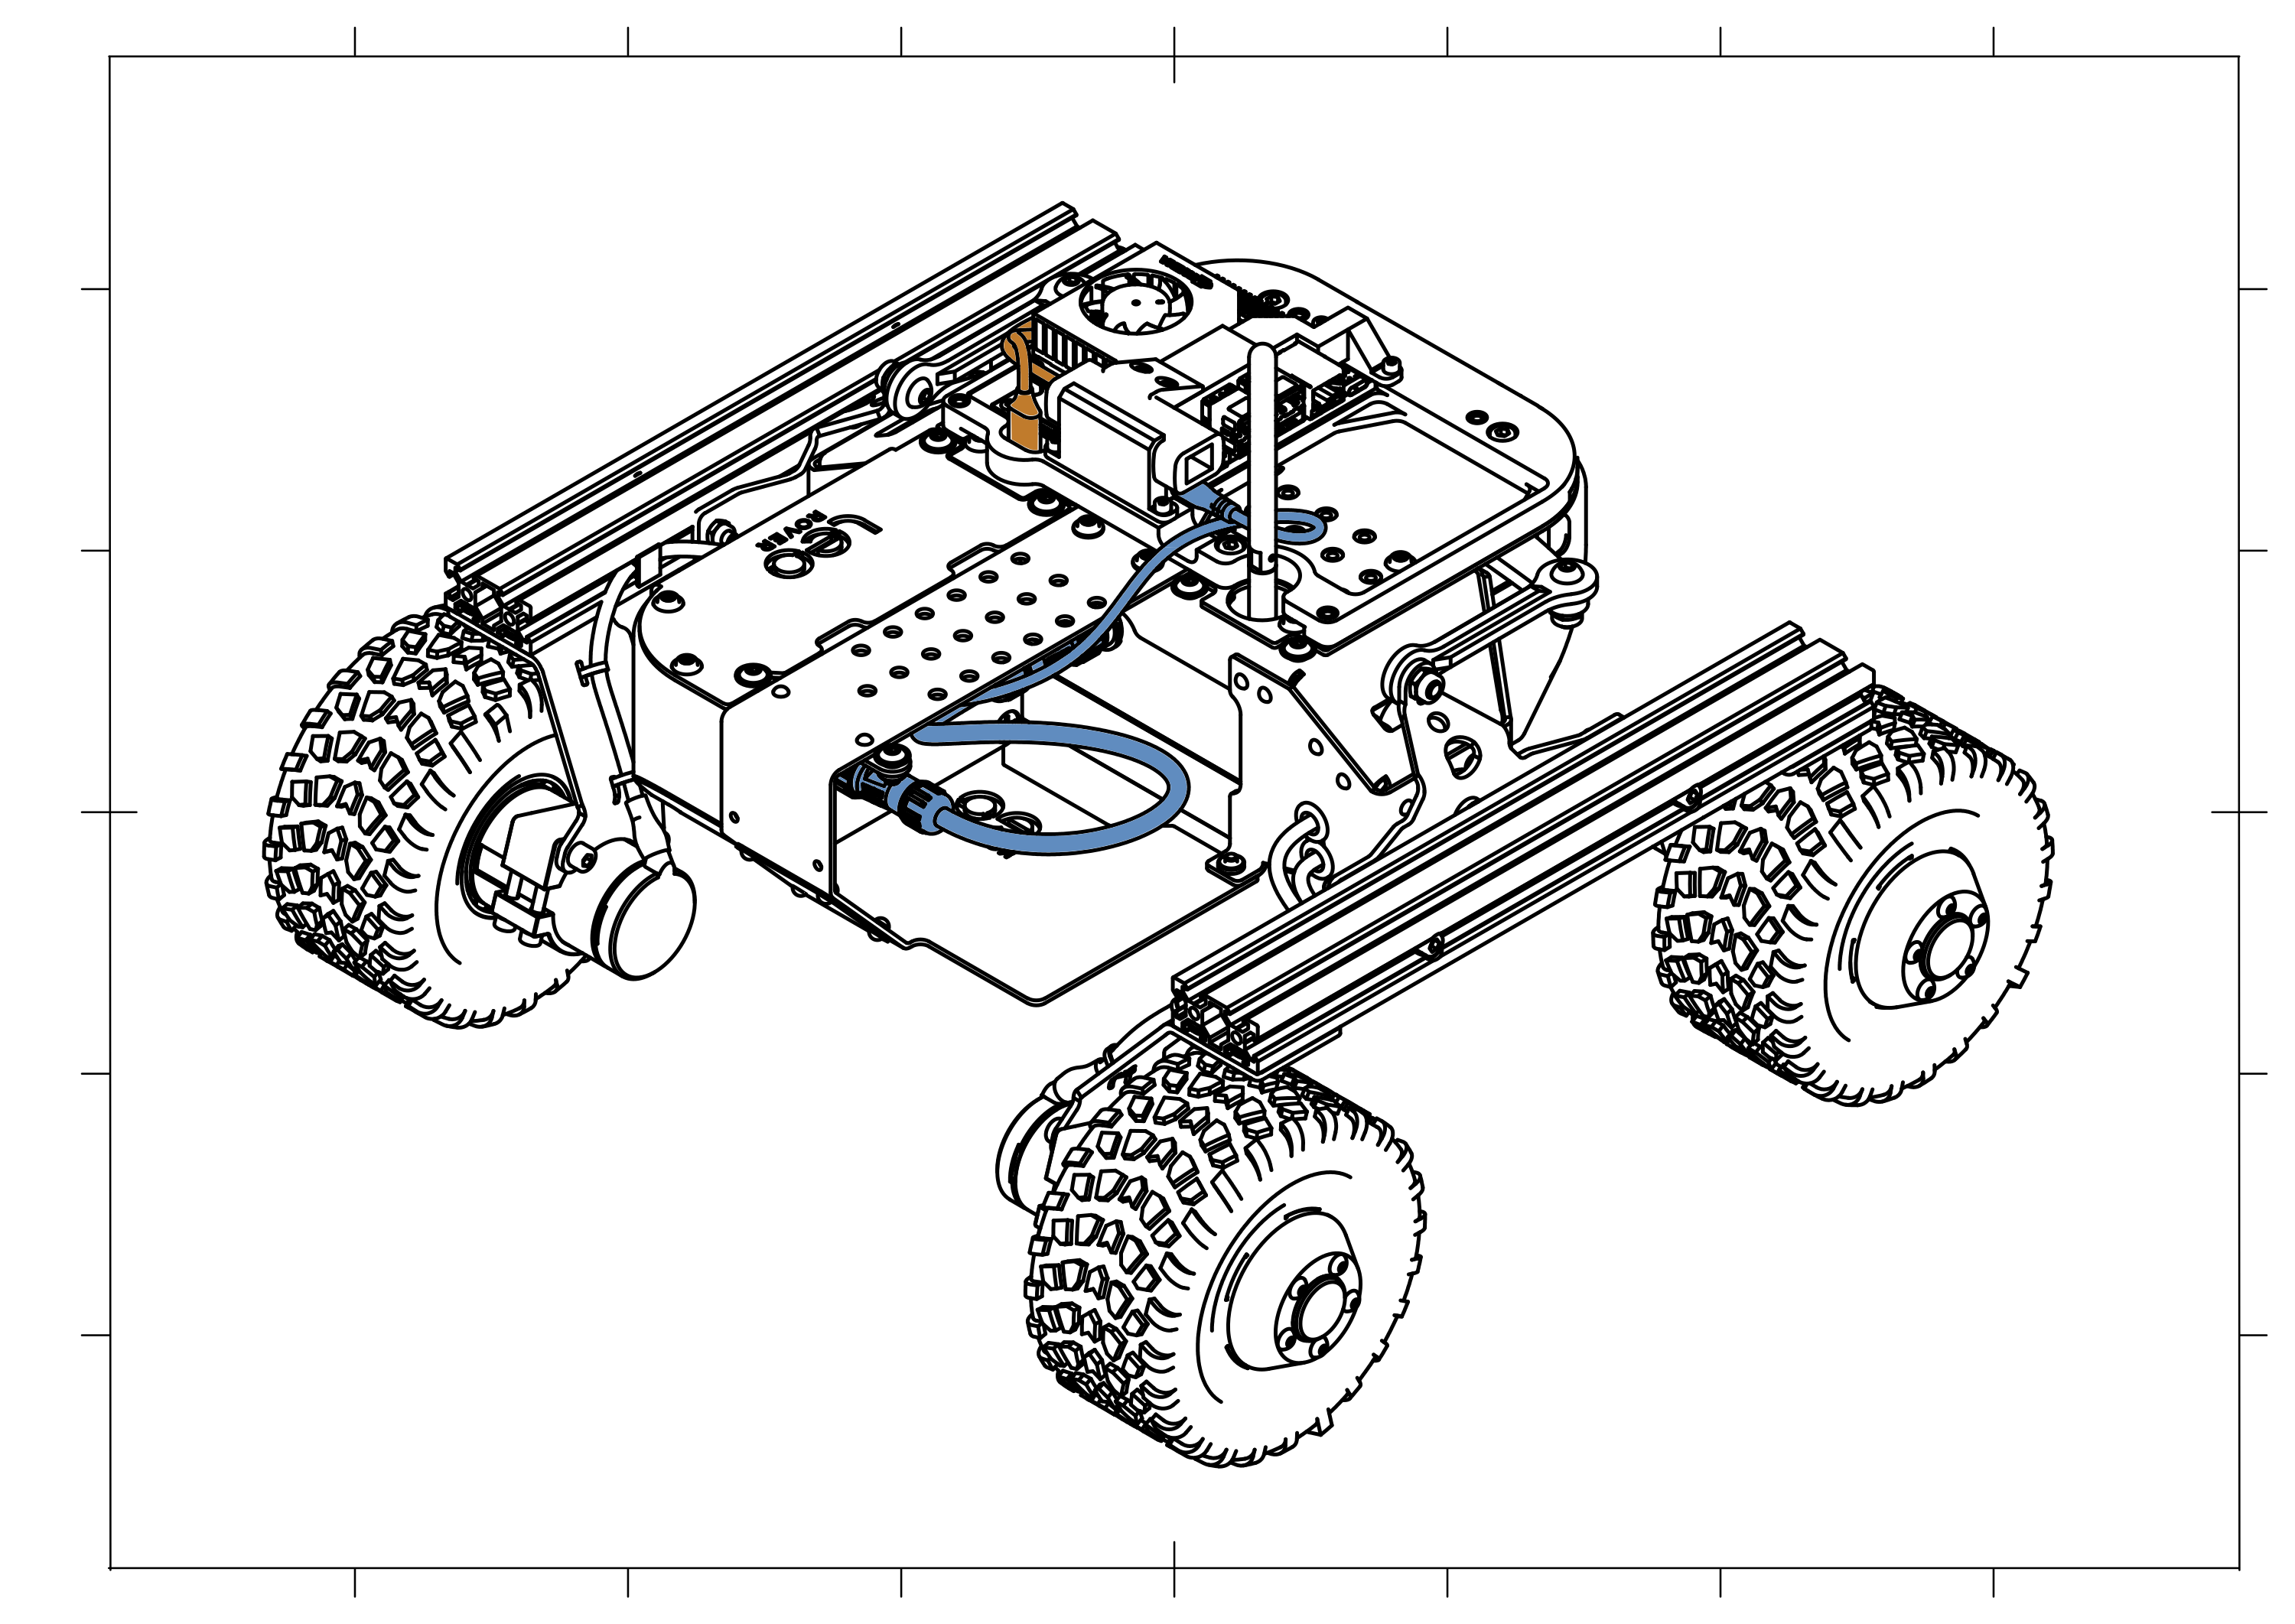
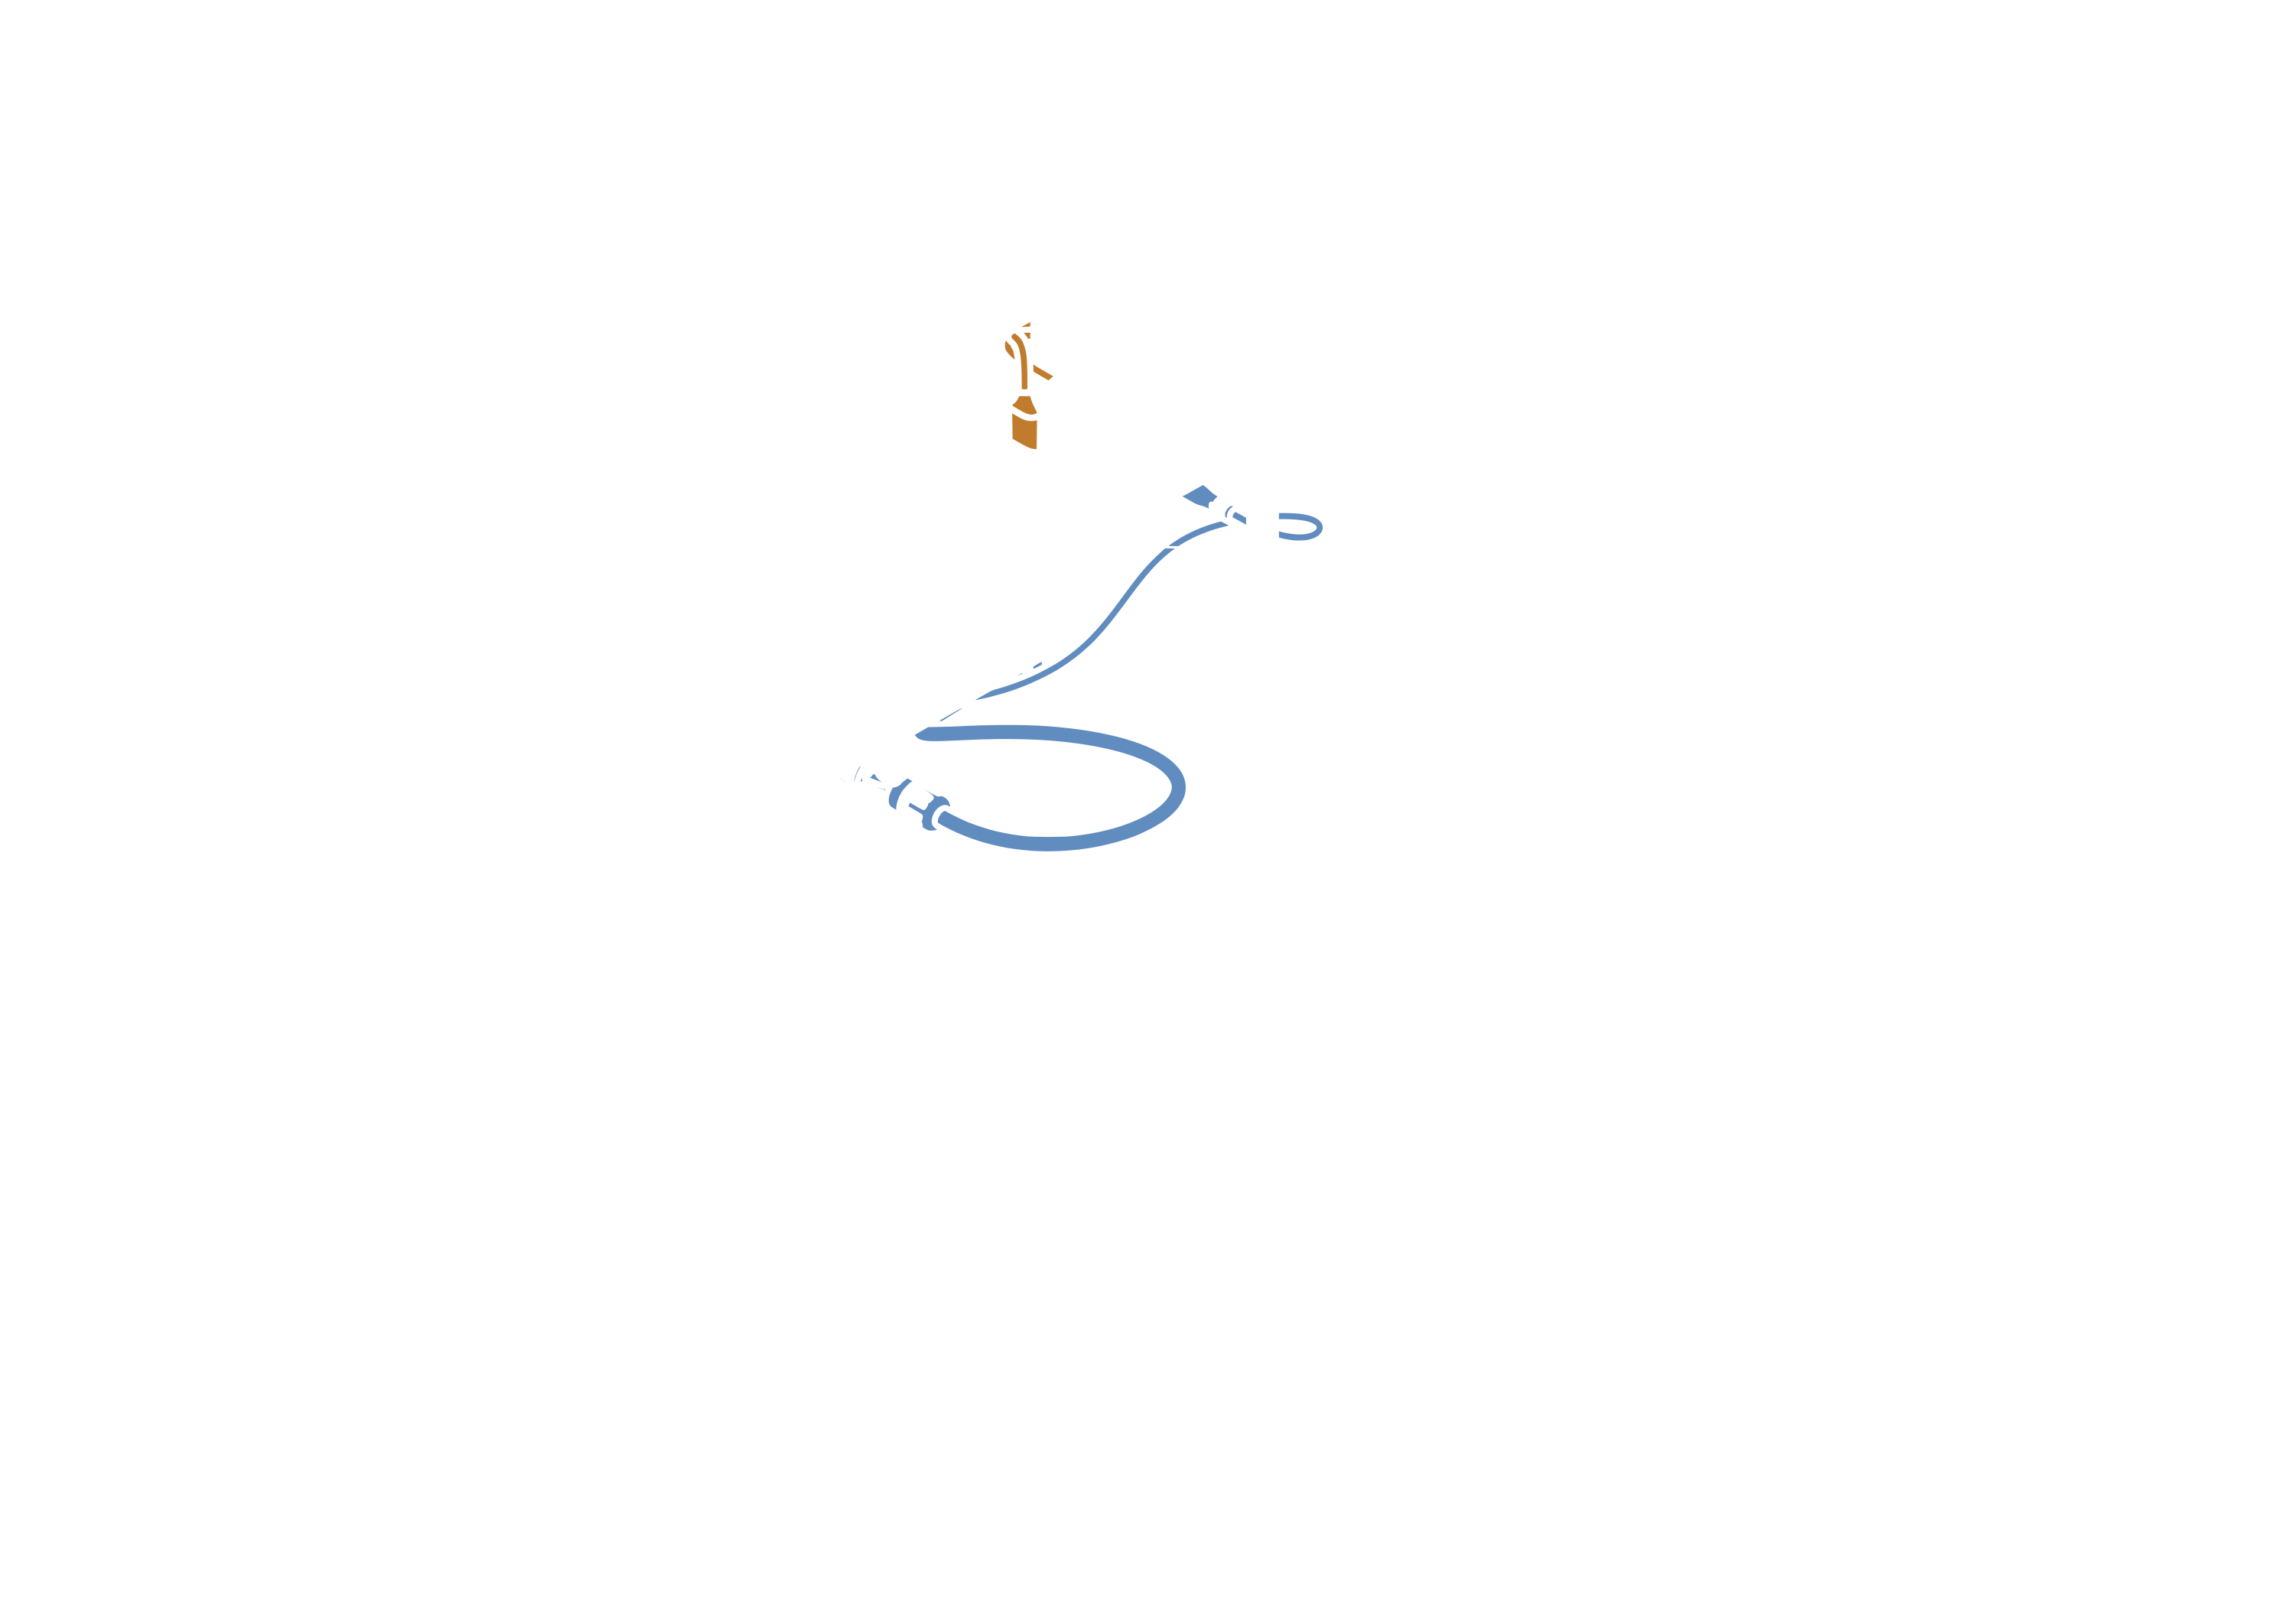
- Link the Ethernet adapter to the Jetson Orin Nano using the provided Ethernet patch cable.
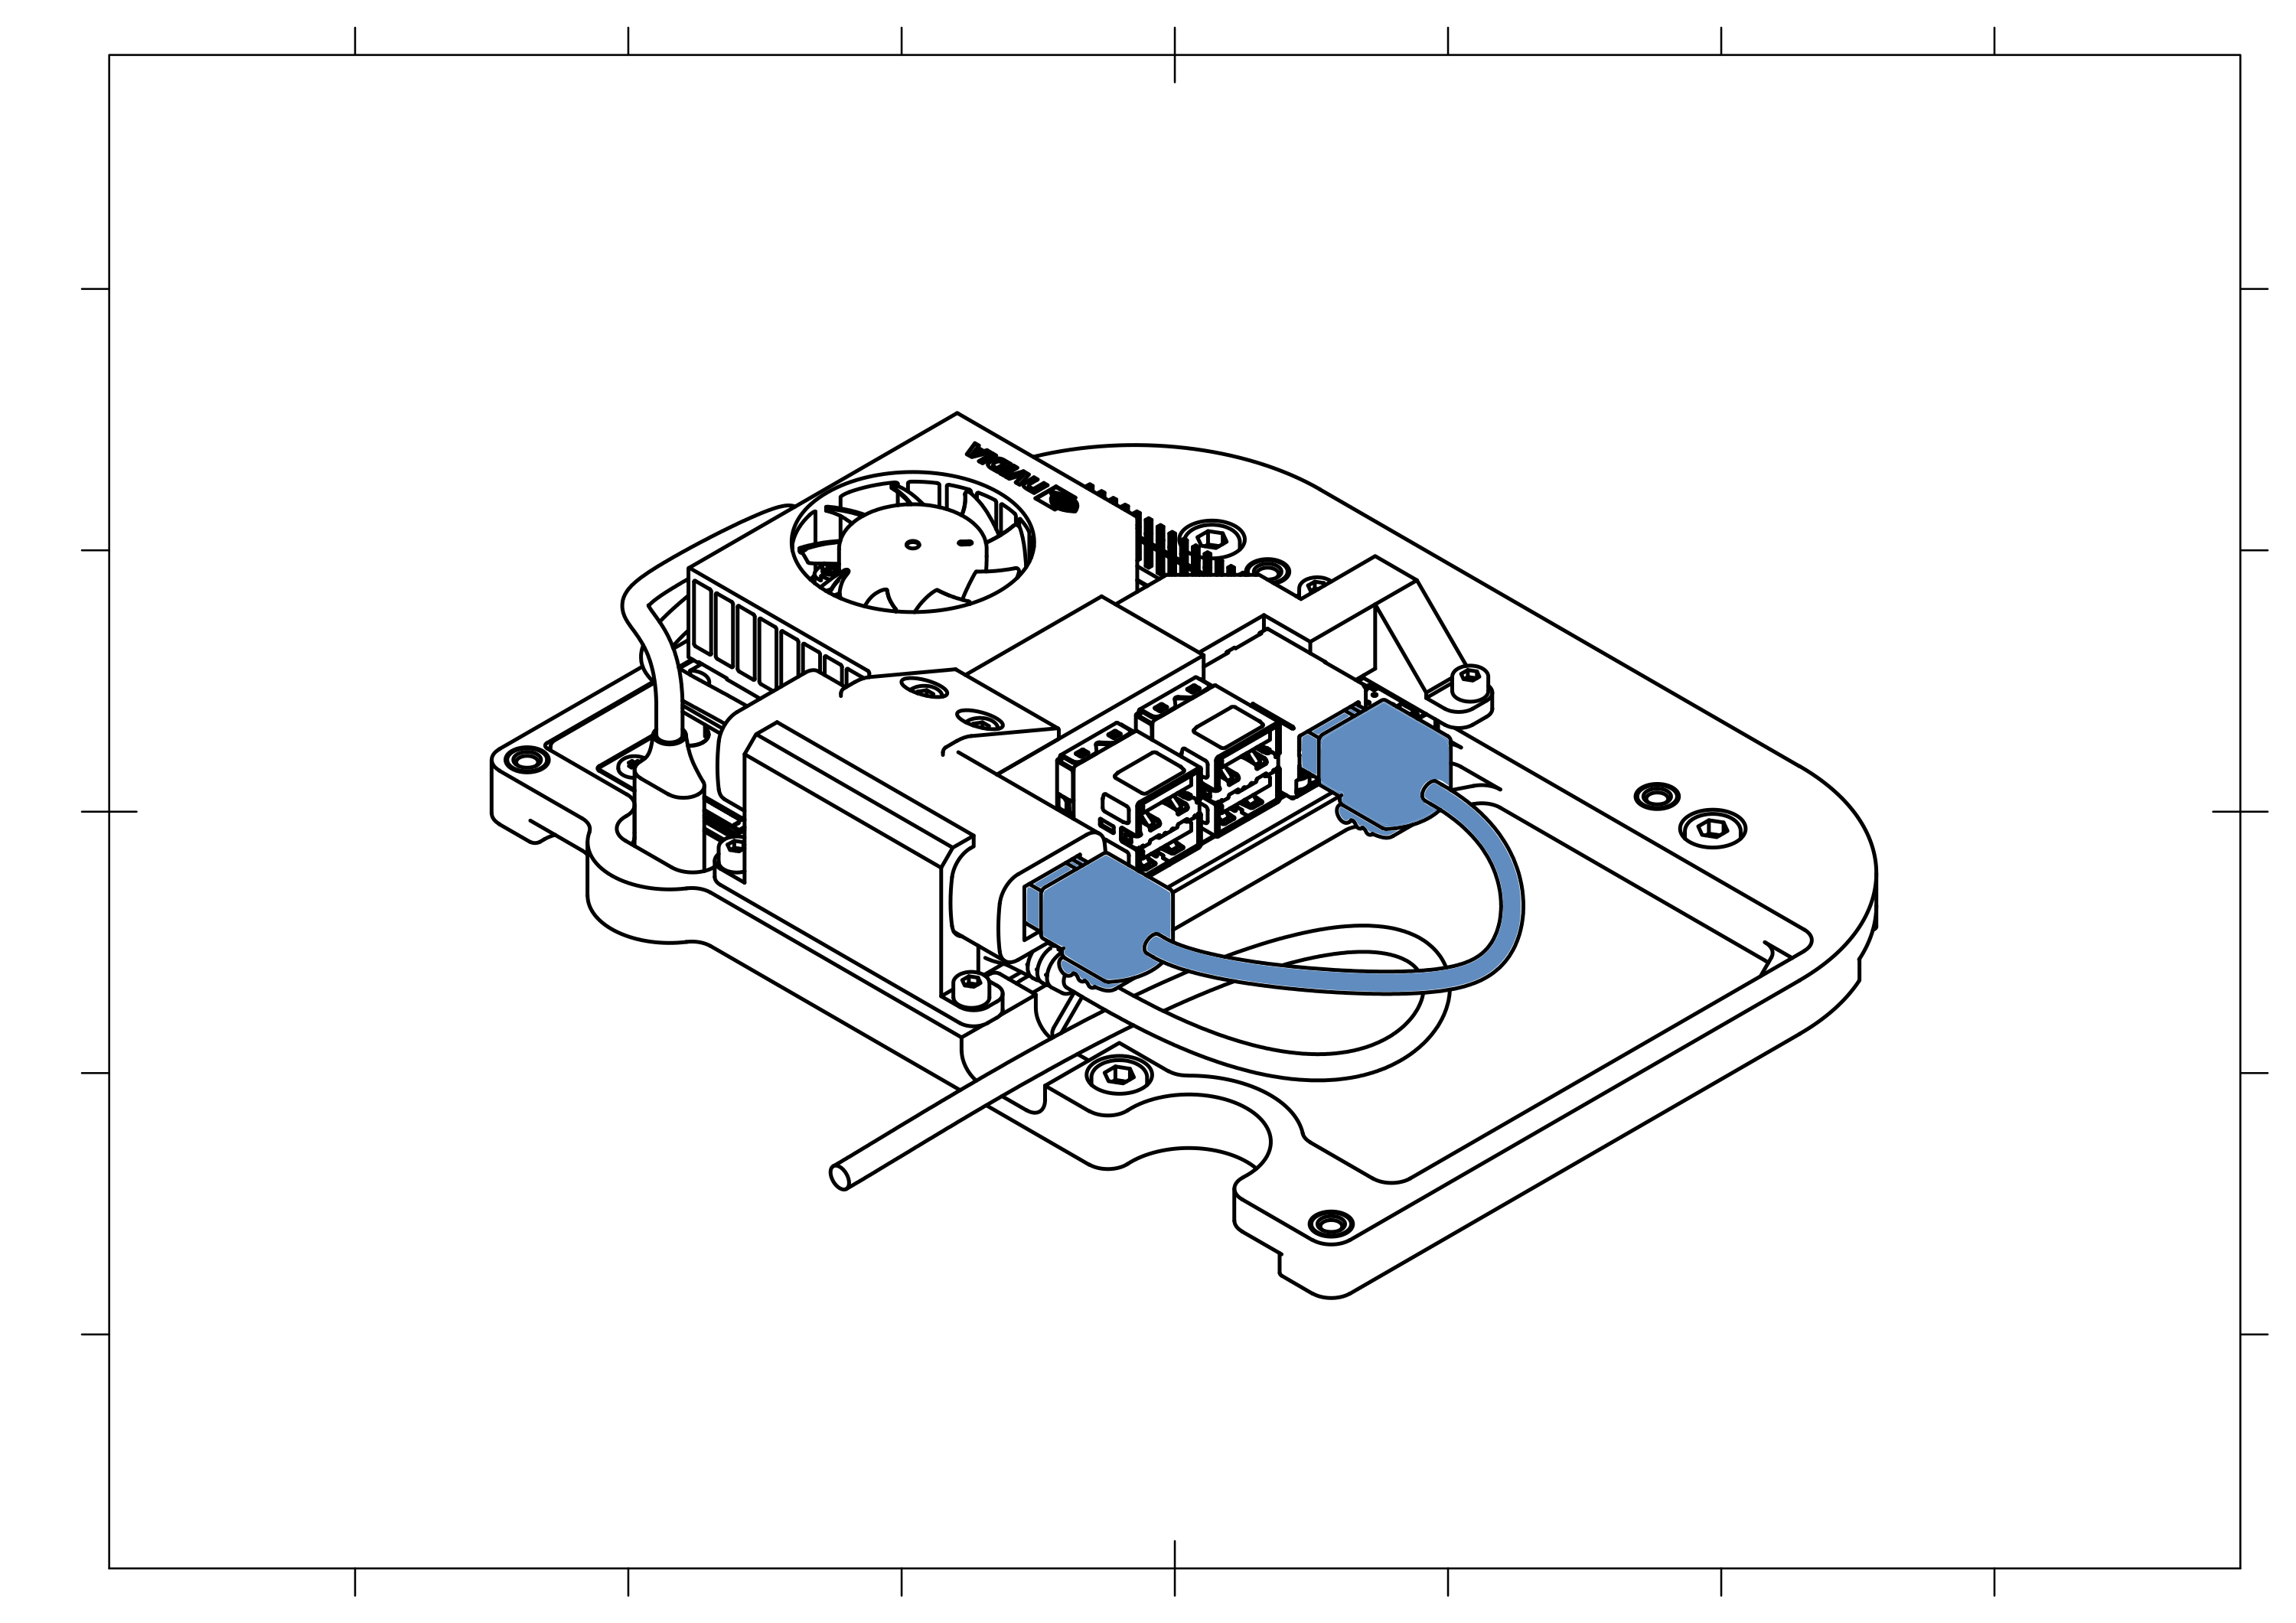
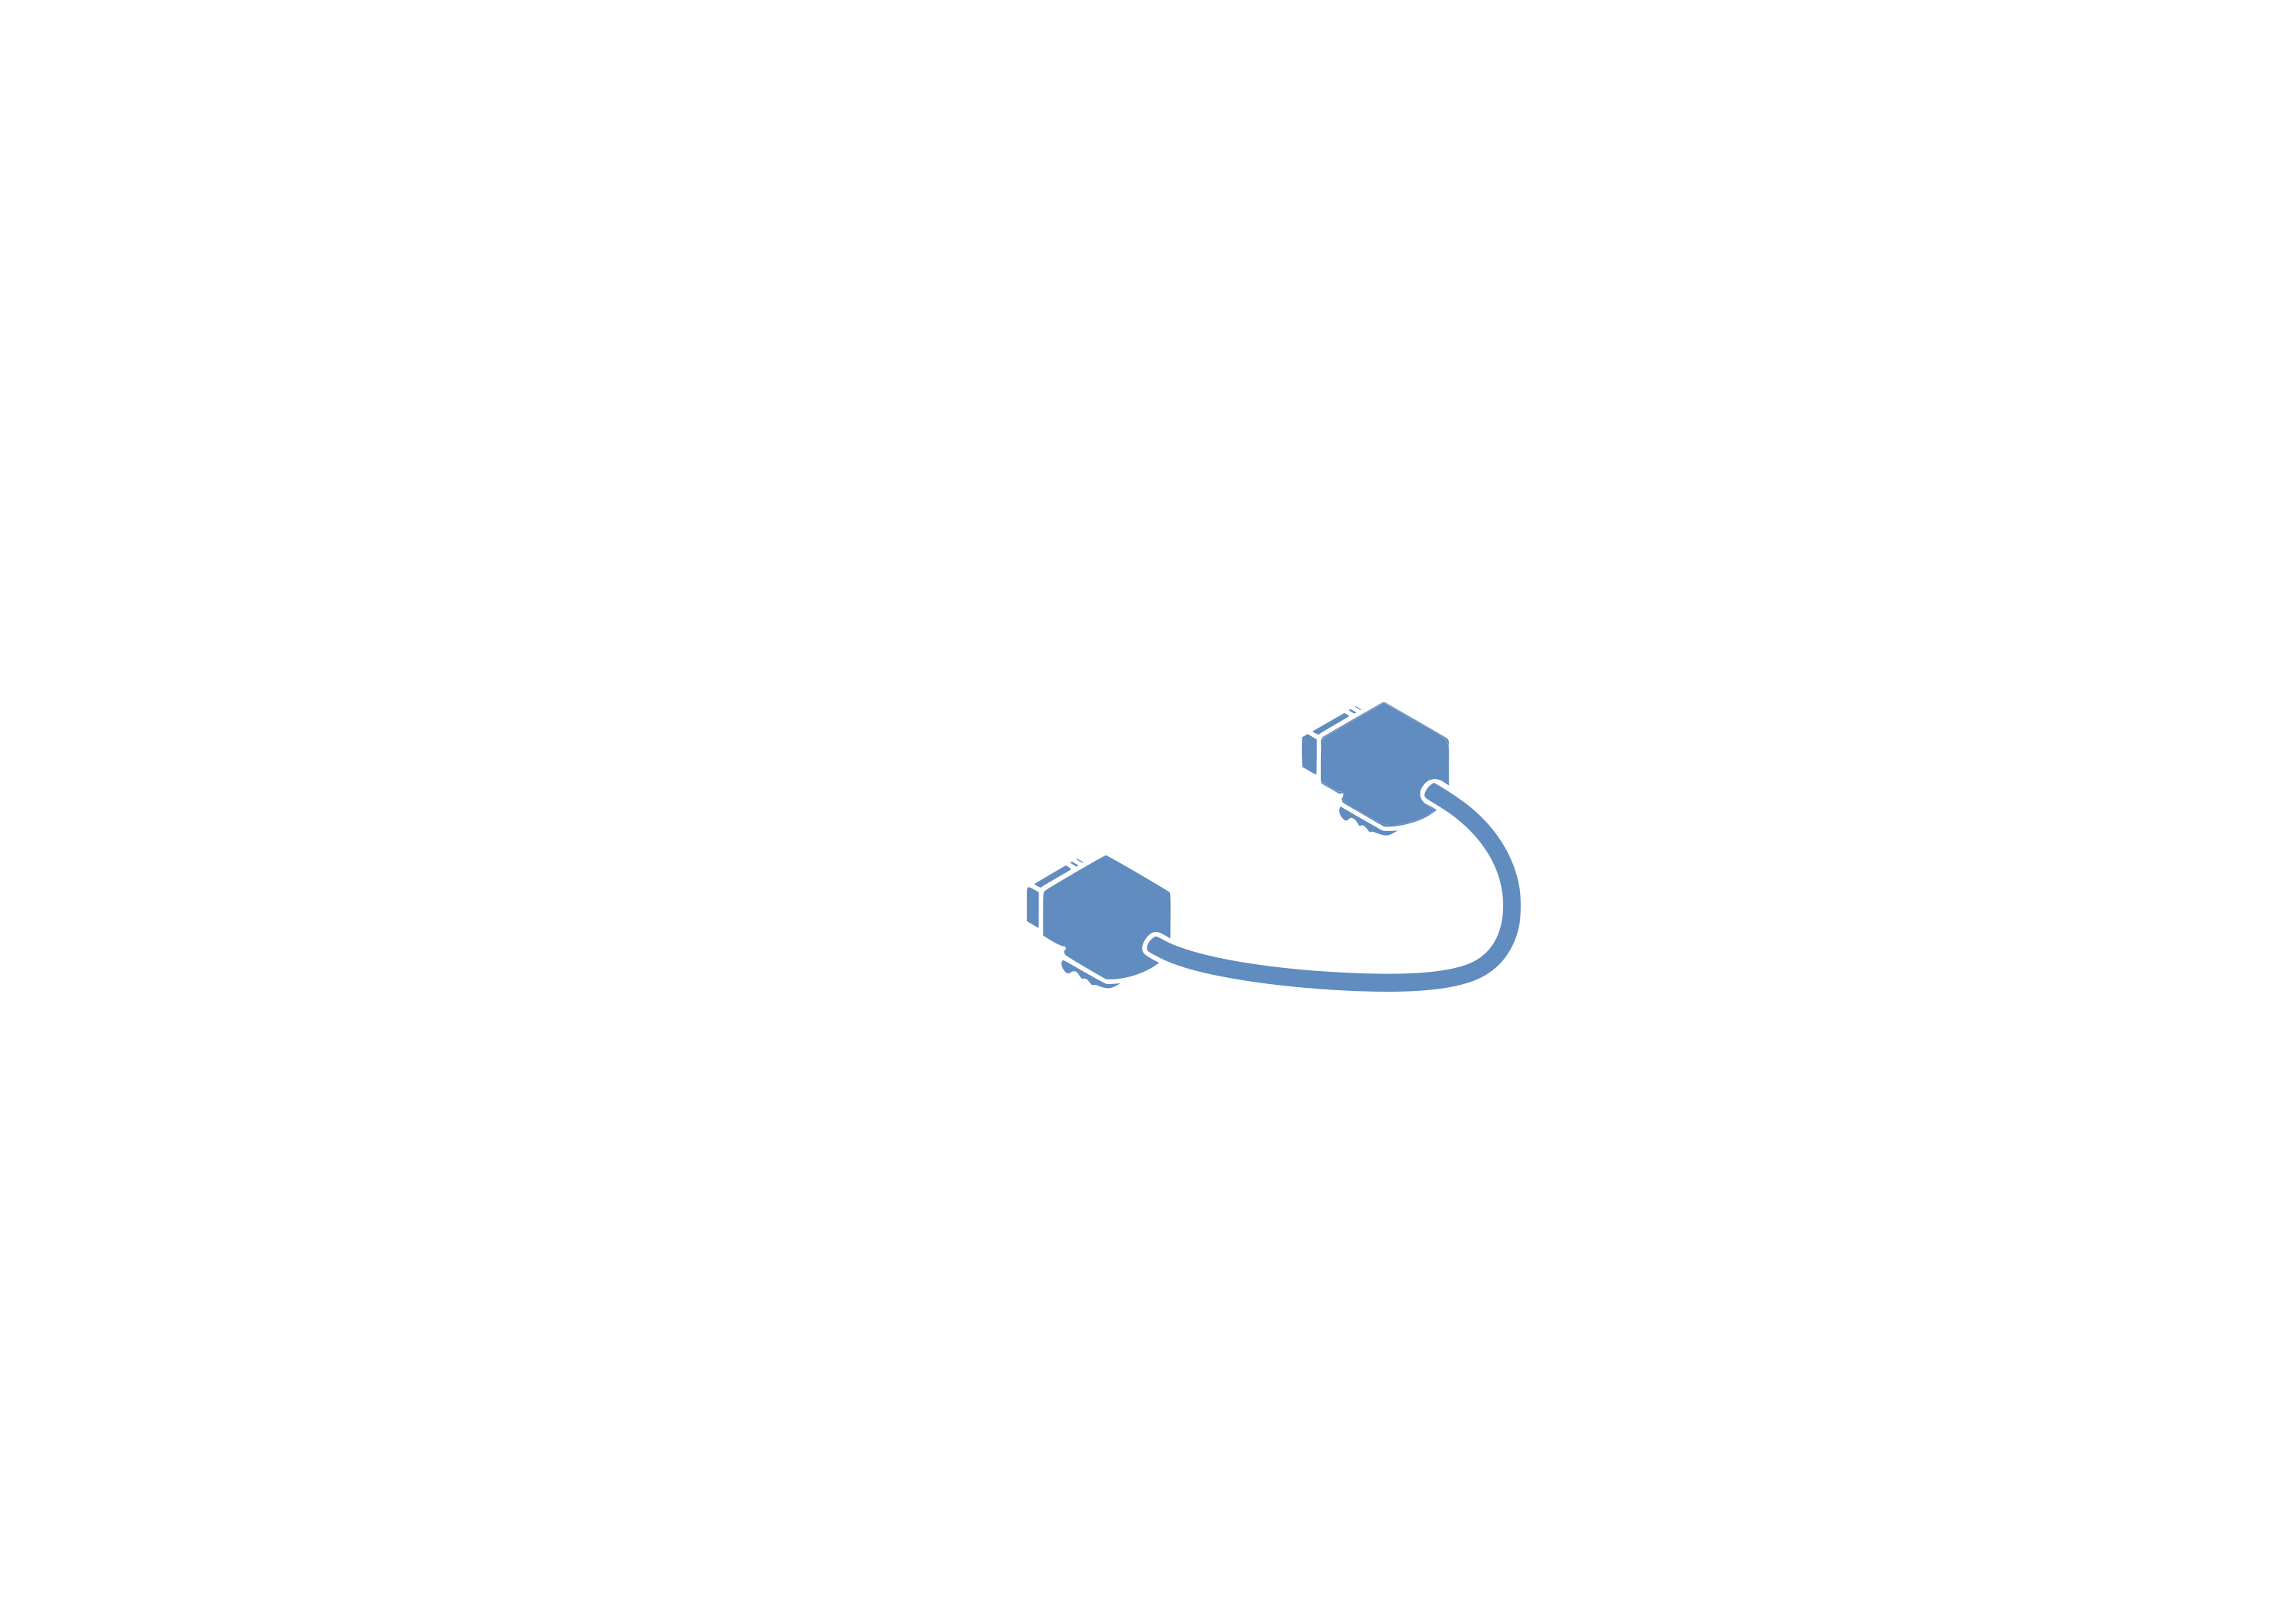
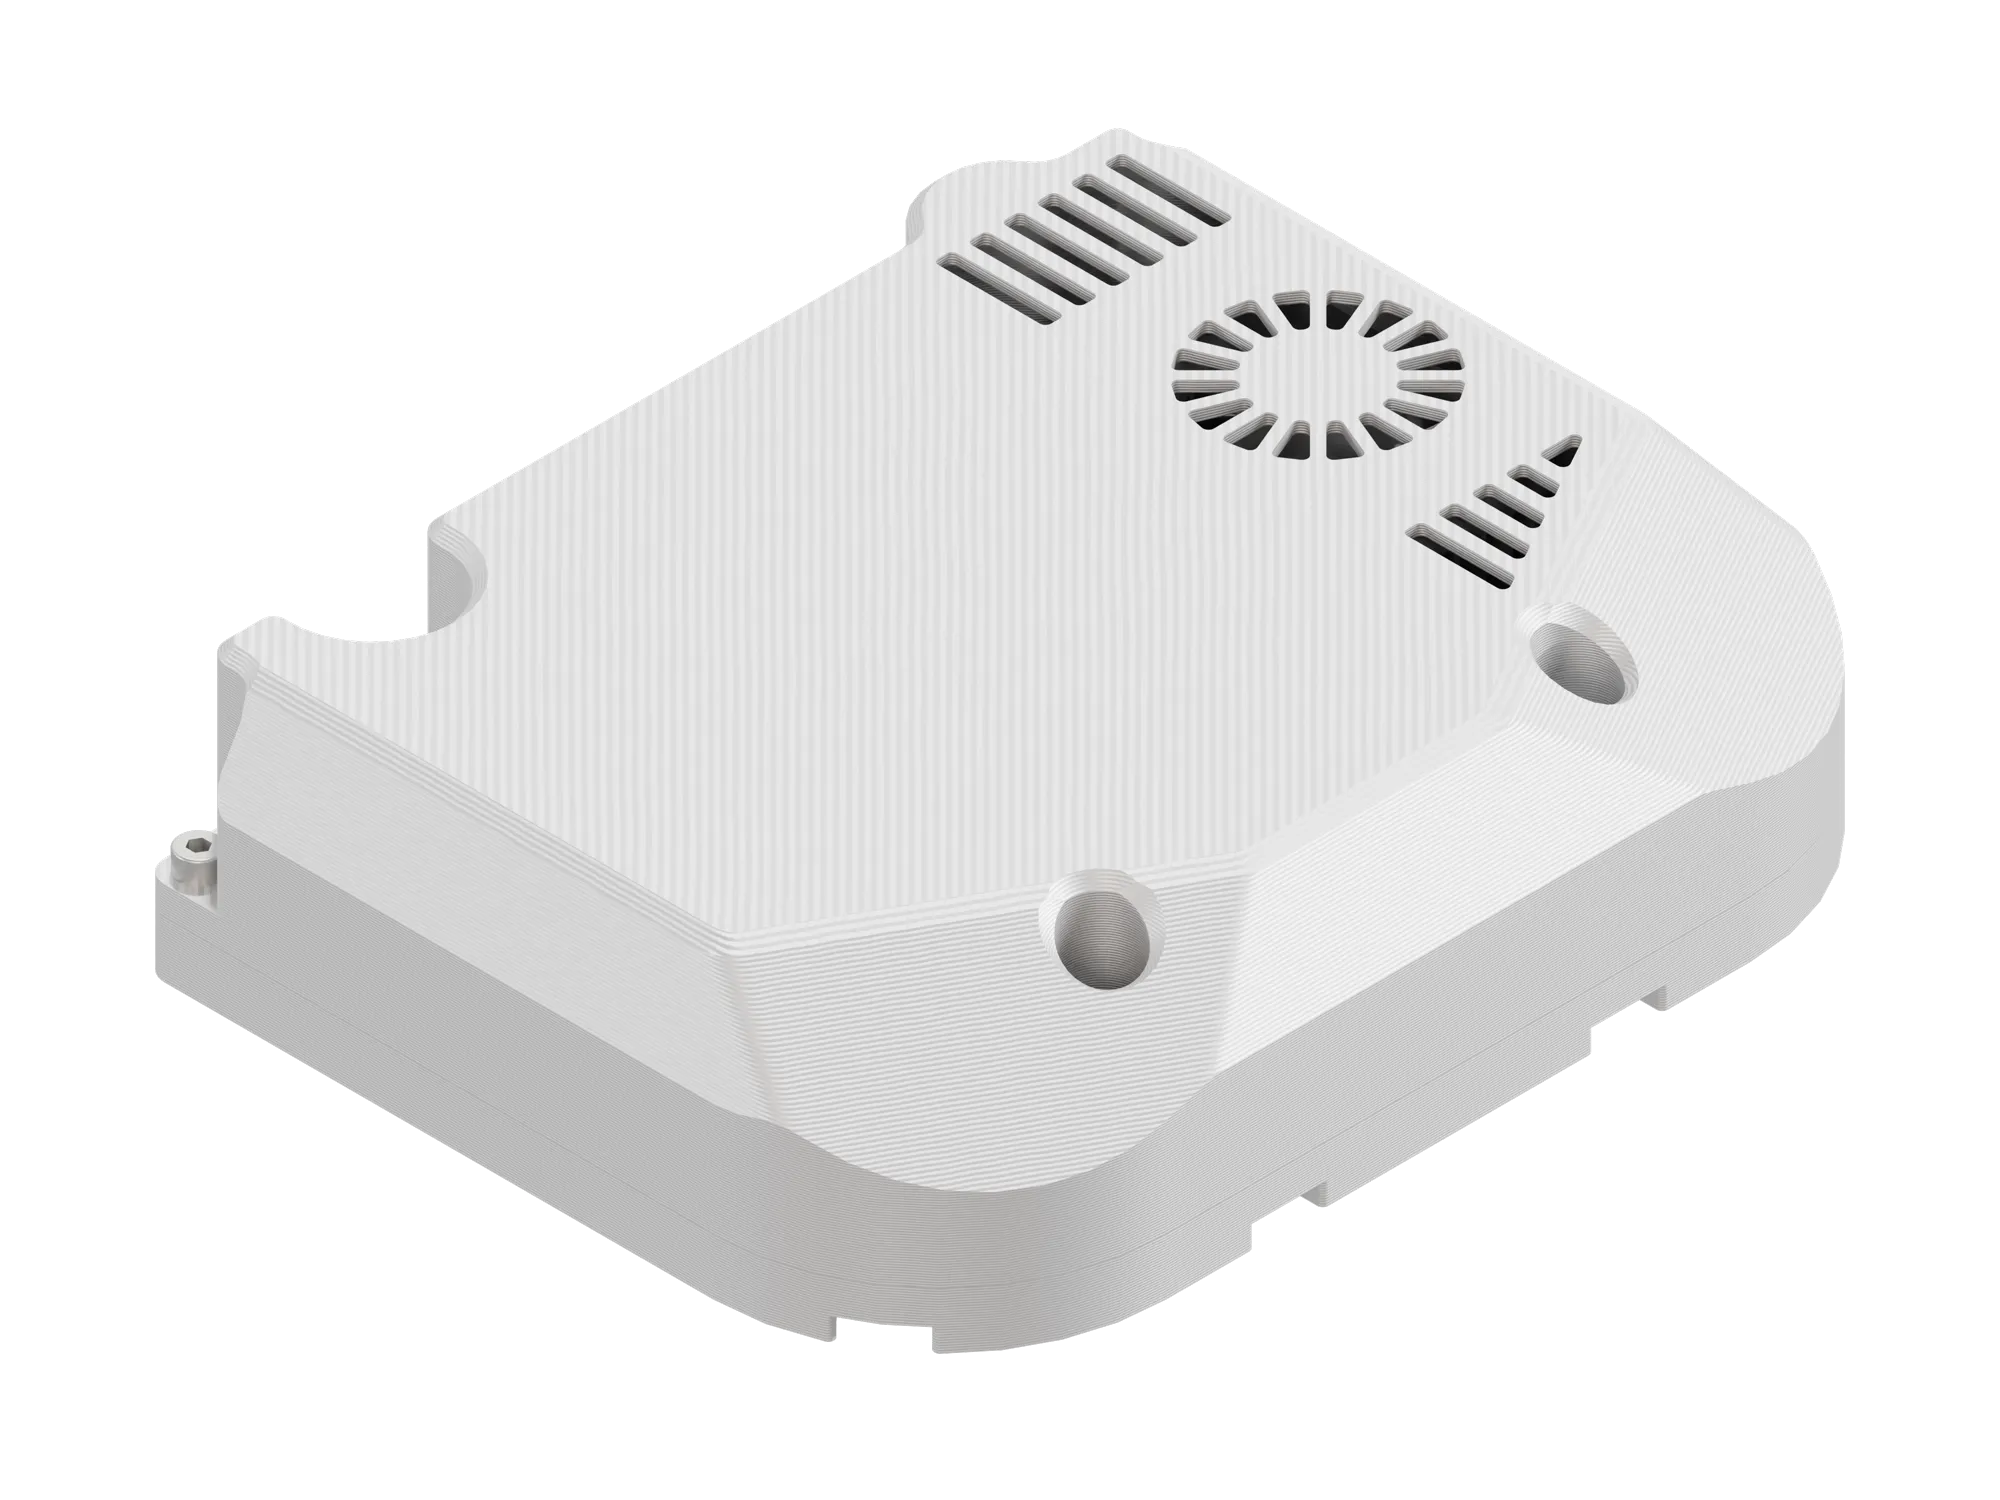
Once all connections are secured and verified, enclose the setup by installing the protective cover using M4 x 12 bolts.
Take extra care during this step. Carefully inspect the perimeter of the cover to ensure that no cables are pinched, crimped, or squeezed between the mechanical components.
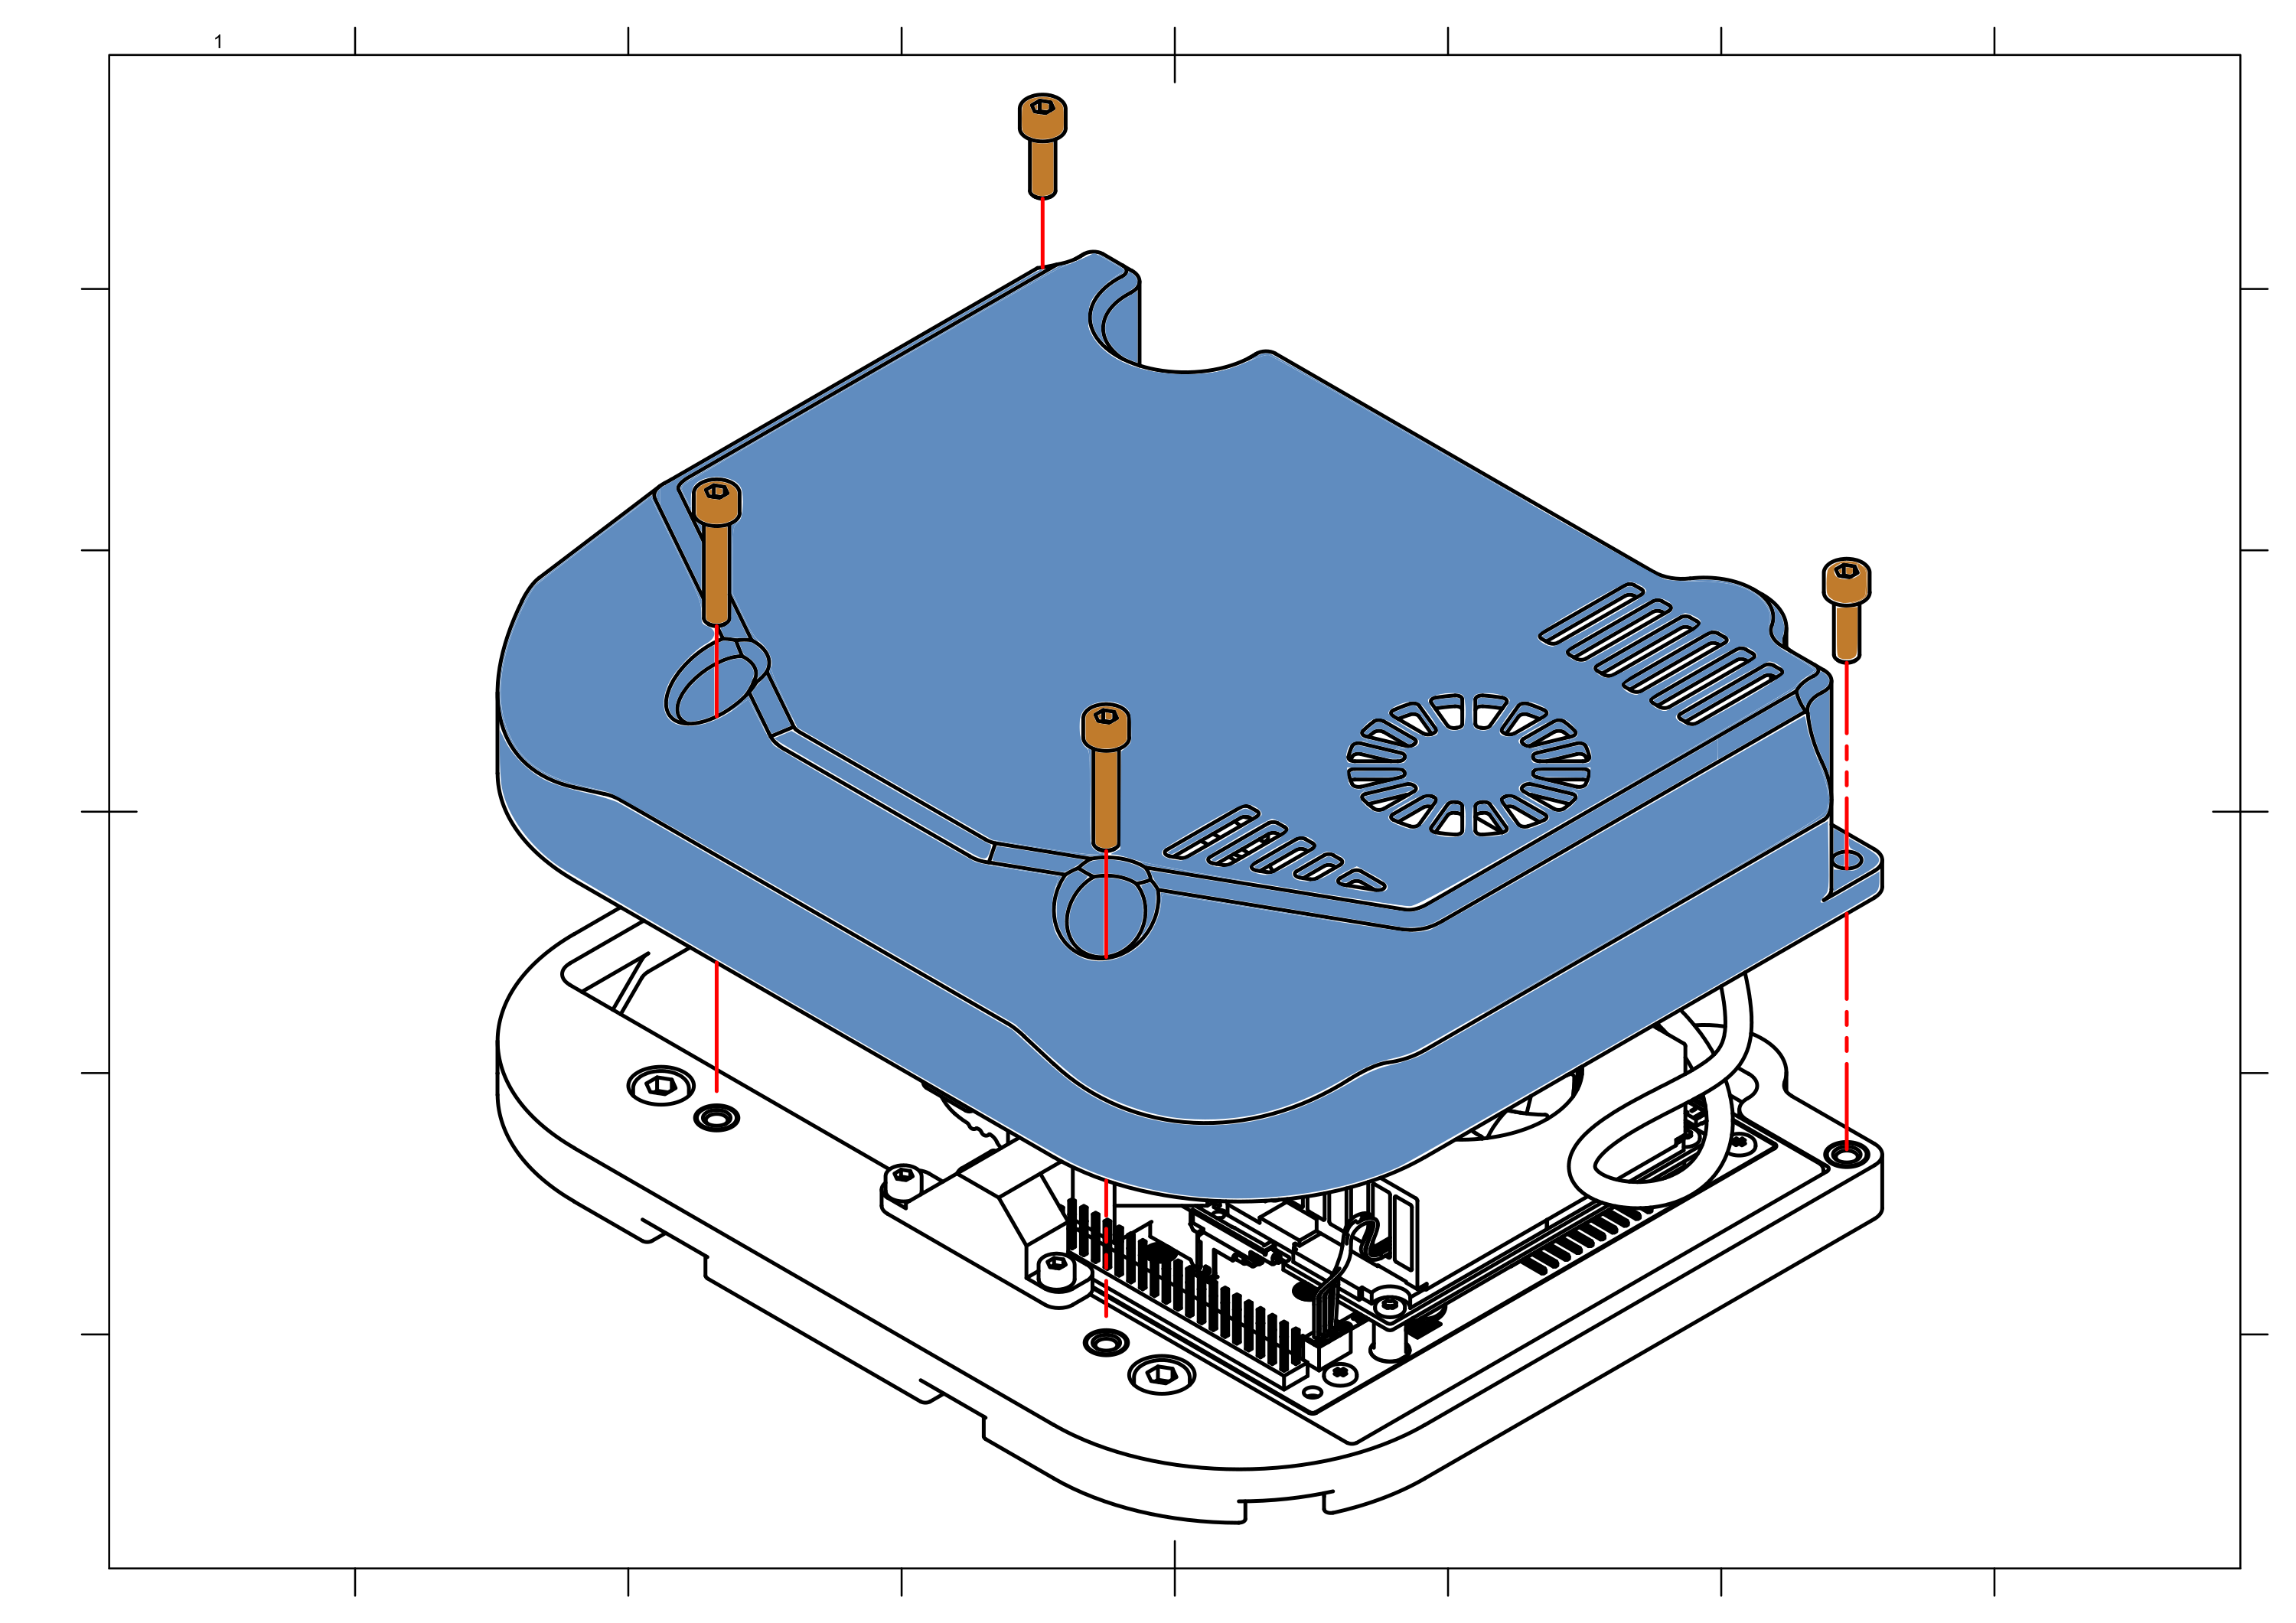
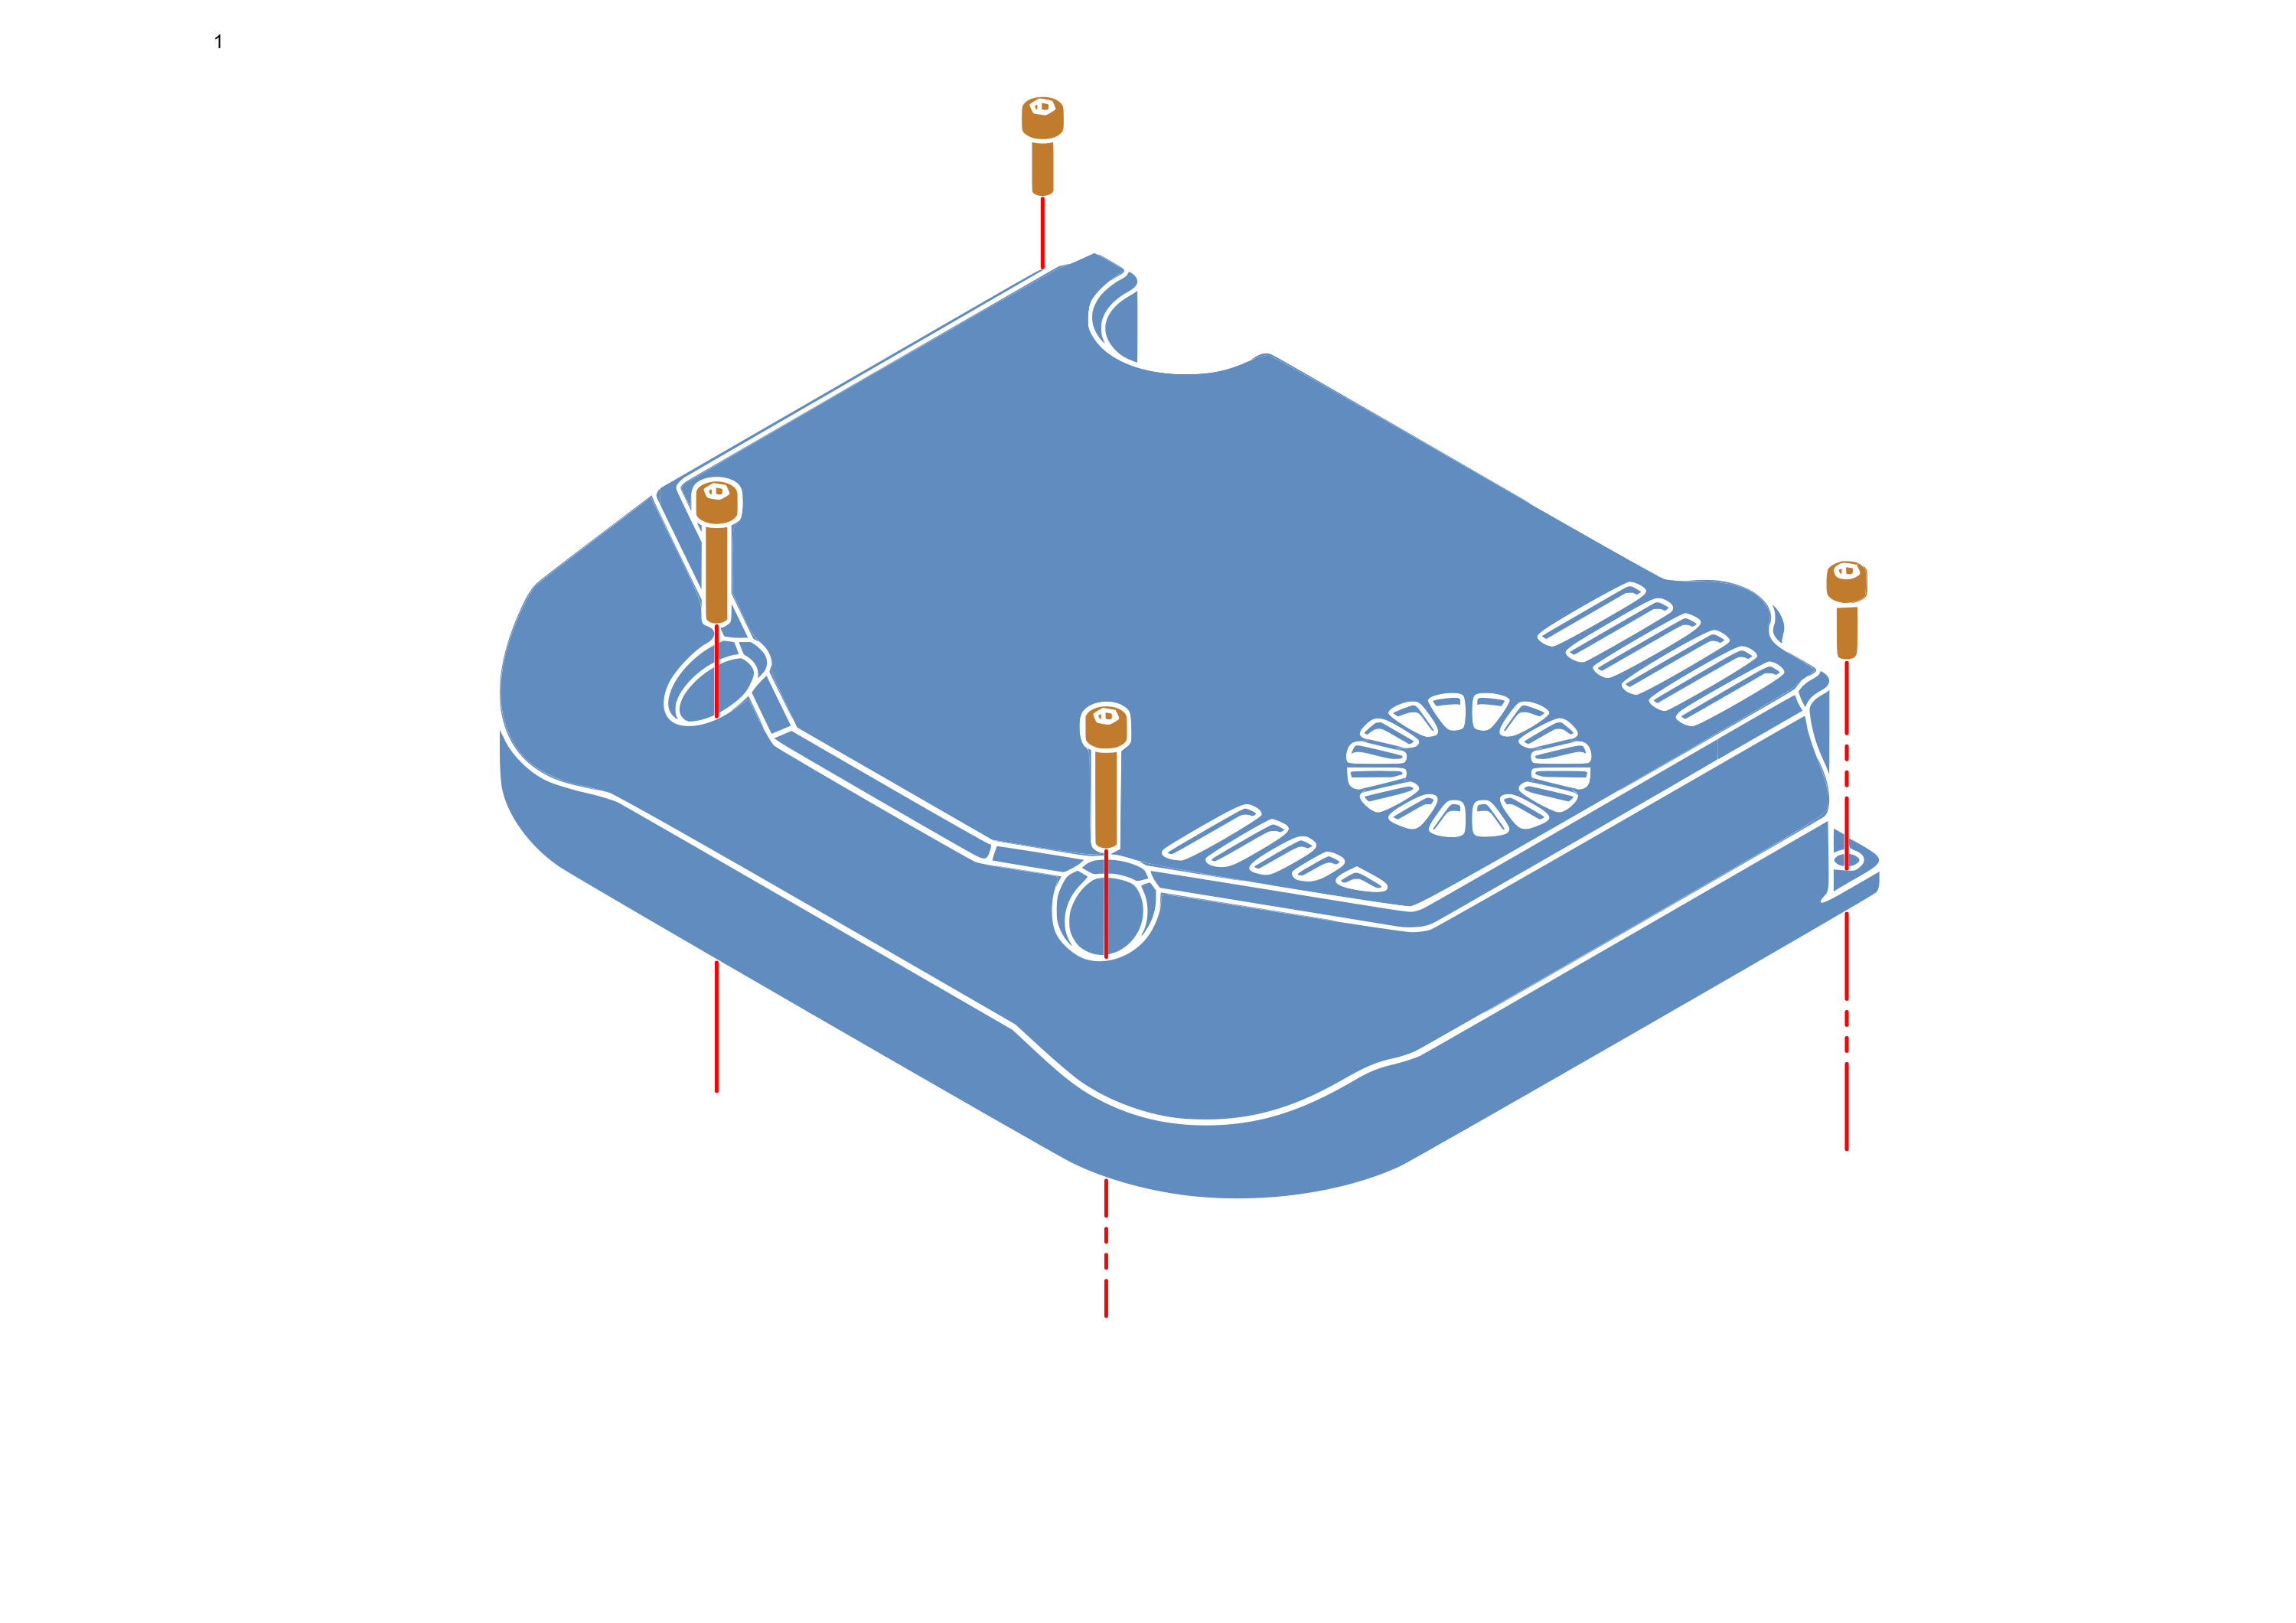
Now the rover is ready for software integration.
Software integration
[Description of how to set up the software side of the integration, including any necessary ROS packages, configuration files, or launch files. Include code snippets and terminal commands if necessary.]
Modifying the URDF model
[Description of how to modify the URDF model of the rover to include the new sensor or component, including any necessary XML code snippets and explanations.]
Example usage
[Description of how to use the new integration, including any necessary ROS commands, launch files, or example code snippets. For example, show cloud points from a new LiDAR sensor in RViz, or show images from a new camera sensor. Include pictures or videos of the new capabilities in action if possible.]
What's next?
[Description of possible next steps after completing the integration, such as:
- Link to our more advanced guides that build on top of this integration
- Mention how these sensors are used in the real world and what kind of applications they enable
- Link to the verified materials from our partners that can be used with the new integration
- Suggestions for additional sensors or components to integrate]